> For the complete documentation index, see [llms.txt](https://help.littledata.io/llms.txt). Markdown versions of documentation pages are available by appending `.md` to page URLs; this page is available as [Markdown](https://help.littledata.io/event-editor/overview.md).

# Overview

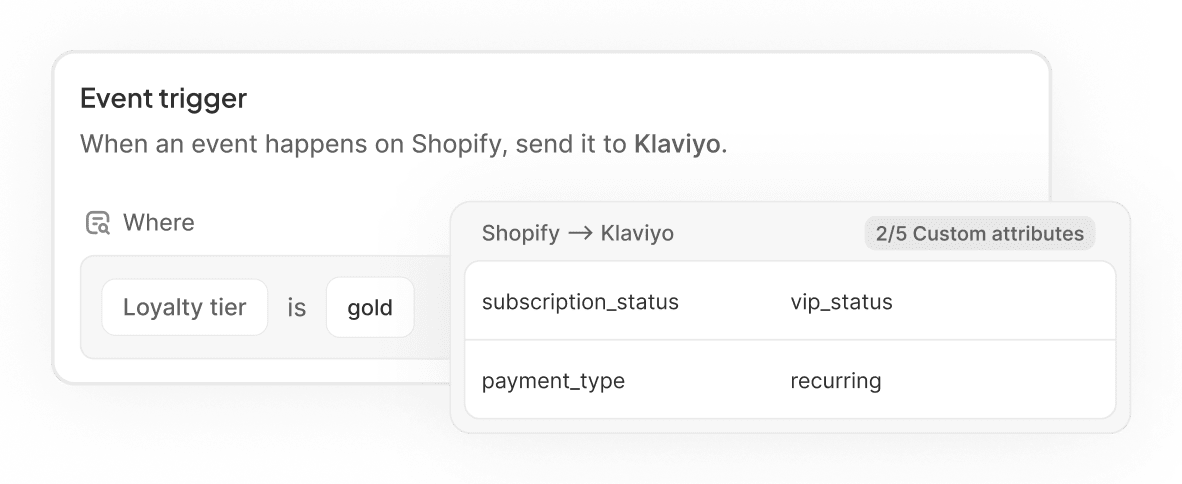
<figure><img src="https://3956158252-files.gitbook.io/~/files/v0/b/gitbook-x-prod.appspot.com/o/spaces%2F1QhTbrMraNWciQeDvu1b%2Fuploads%2Fgit-blob-21a873ae55ce2147943e44f7cc29c5ed4b19dedb%2Fevents-editor-2-.webp?alt=media" alt=""><figcaption></figcaption></figure>

The **Event Editor** lets you customize and enrich your events to implement specific use-cases, such as:

* Optimizing your ad targeting on winning products
* Excluding purchases from specific markets
* Sending data from other Shopify apps to your marketing destinations

{% hint style="info" %}
The Event Editor is currently in beta and available on all plans. If something doesn't work as expected, check the FAQ and troubleshooting guide or contact support.
{% endhint %}

### What you can do

The Event Editor runs on five operations to customize your events according to what your business requires.

<table><thead><tr><th width="151.6953125">Operation</th><th>Description</th></tr></thead><tbody><tr><td><a href="/pages/CbVpO3mFcY3bqOXfOjlo"><strong>Filter</strong></a></td><td>Add trigger conditions so an event fires only when it matches your criteria. <br><mark style="color:$info;">Example: Keep staff and test orders out of Meta CAPI so they don't skew your ad optimization.</mark></td></tr><tr><td><a href="/pages/5nY9bmtQZXSxN9wjrlrf"><strong>Derive</strong></a></td><td>Build a custom event from any standard event with its own conditions and mappings.<br><mark style="color:$info;">Example: Create a separate</mark> <mark style="color:$info;"><code>purchase</code></mark> <mark style="color:$info;">event that tracks only first-time subscription orders.</mark></td></tr><tr><td><a href="/pages/IX9rUj6EpC63On72uj1d"><strong>Enrich</strong></a></td><td>Extend events with data from Shopify metafields and other custom data sources.<br><mark style="color:$info;">Example: Send product cost so a destination can report on margin, attach a loyalty tier, or pass through a quiz answer.</mark></td></tr><tr><td><a href="/pages/MAqn491wNdnr5KpKhHAL"><strong>Remap</strong></a></td><td>Remap event properties with another field mapping.<br><mark style="color:$info;">Example: Remap your GA4</mark> <mark style="color:$info;"><code>item_brand</code></mark> <mark style="color:$info;">to vendor instead of the default.</mark></td></tr><tr><td><a href="/pages/4btNeKzORF89A1ak9HGc"><strong>Enable/disable</strong></a></td><td>Enable or disable individual events per destination.<br><mark style="color:$info;">Example: Disable</mark> <mark style="color:$info;"><code>add_to_cart</code></mark> <mark style="color:$info;">for a destination where you only care about conversions.</mark></td></tr></tbody></table>

Before you go live, you can also [preview your changes](/event-editor/event-preview.md) to see the exact payload your destination will receive, so there are no surprises in production.

### How it works

Customizations run in Littledata's server-side pipeline before we send it to your destination. The original Shopify data is never modified, and removing a customization restores the default behavior immediately.

The customizations are specific to the event and destination. If you change the `Purchase` event for GA4, that change applies to `Purchase` in GA4 and nowhere else.&#x20;

### What's next

* [Get started](/event-editor/getting-started.md) with the Event Editor and a tour of the Events tab
* The [tracking schema glossary](/event-editor/glossary.md) shows the full list of fields and objects you can work with
* Stuck on something? See the [FAQ and troubleshooting guide](/event-editor/event-customiser-faq.md)
