Shopify to Klaviyo installation guide
In this quick setup guide, we will show you how to connect the Klaviyo integration within the Littledata app.
Quick install guide
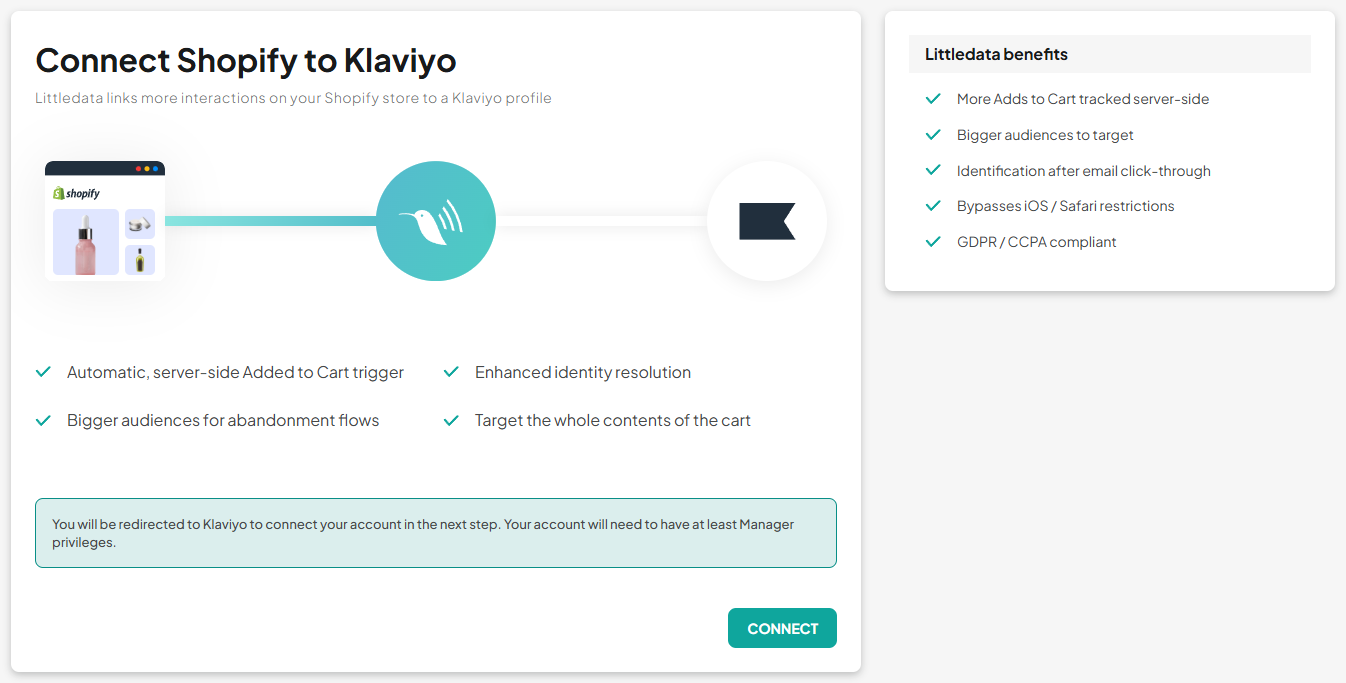
Start the Klaviyo setup process
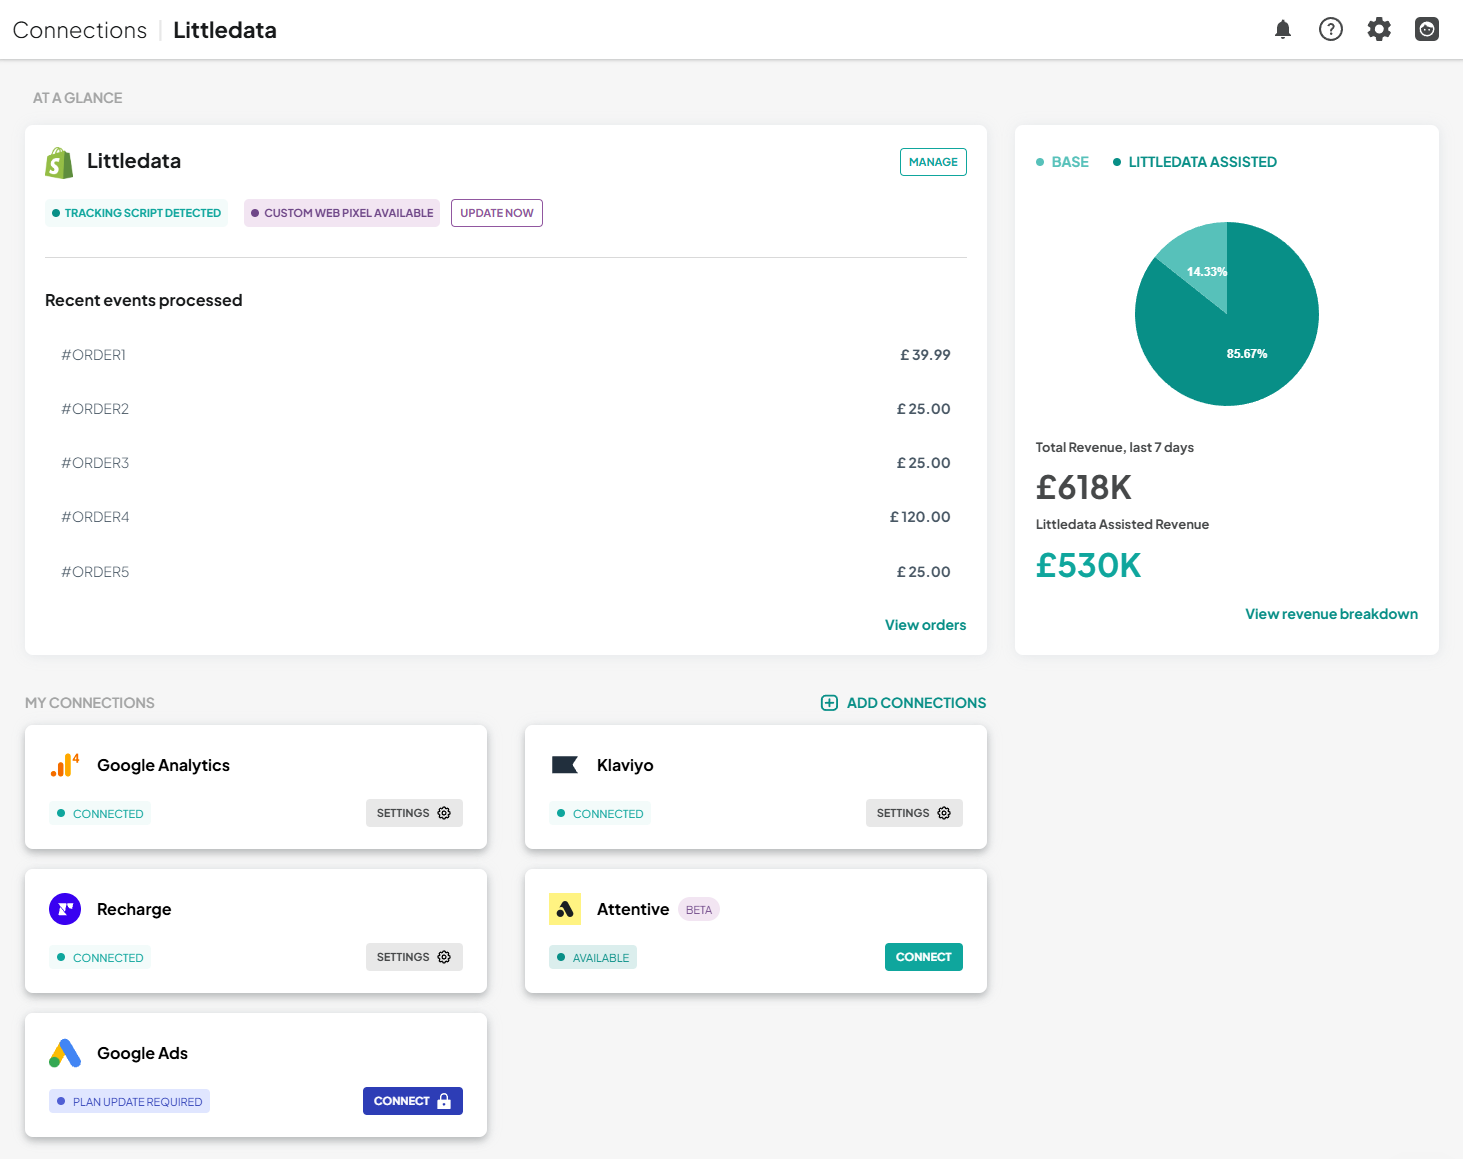
In the Littledata dashboard, you will find the Klaviyo connection. Click CONNECT to start the setup process.
It is required to have the Email+SMS bundle included in your Littledata plan.
Log in with Klaviyo
You will be prompted to connect your Klaviyo account with Littledata.
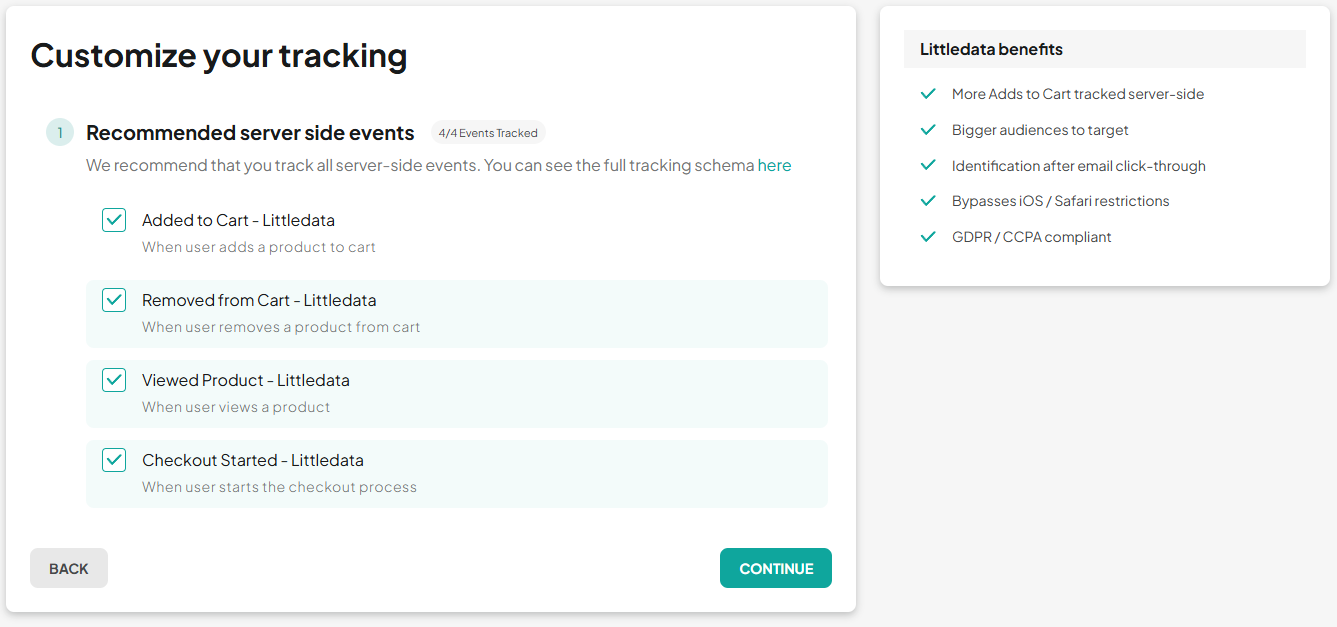
Customize your tracking
Select the events that you would like to track from:
- Viewed Product
- Added to Cart
- Removed from Cart
- Checkout Started
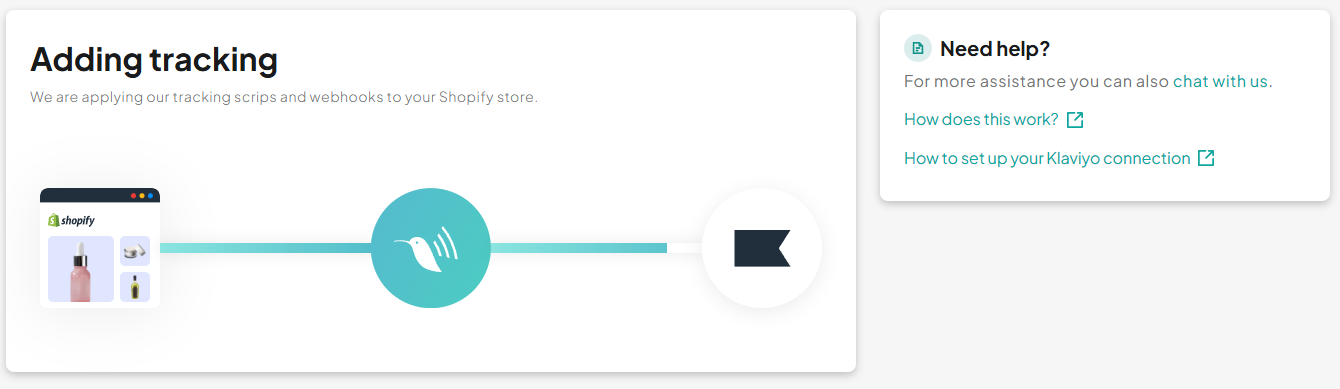
Adding the tracking to your store
In this step, Littledata adds a data layer, tracking script, and a set of webhooks to your Shopify store.
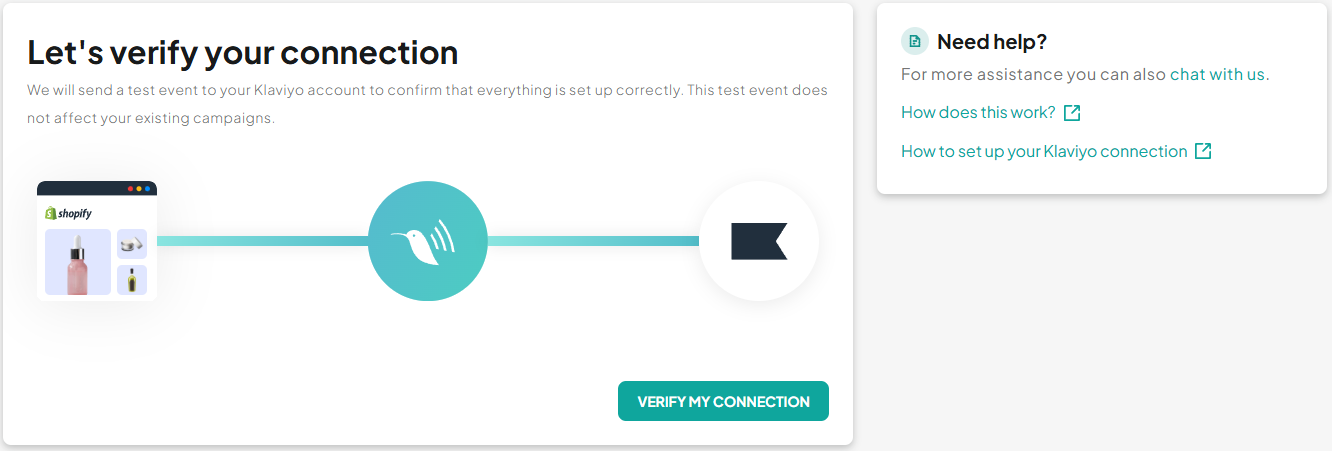
Verifying the connection
The setup is now completed!
Test events will be sent to your Klaviyo account:
-
to test if the connection was completed correctly
-
in order for them to appear as triggers when setting up new flows
Test events won't affect your current campaigns.
Next step: Use the improved triggers in your Klaviyo flows
Migrating to the automated setup
We no longer support the manual setup route with our Klaviyo connection.
This step-by-step guide shows how to reset the connection and connect your Klaviyo account with Littledata.
There are 3 main actions you have to take to migrate successfully:
-
Reset the Klaviyo connection
-
Connect your Klaviyo account with Littledata
-
Clone the flows you're using Littledata with and change the trigger
Here is a breakdown of the whole process.
Log in to your Littledata account
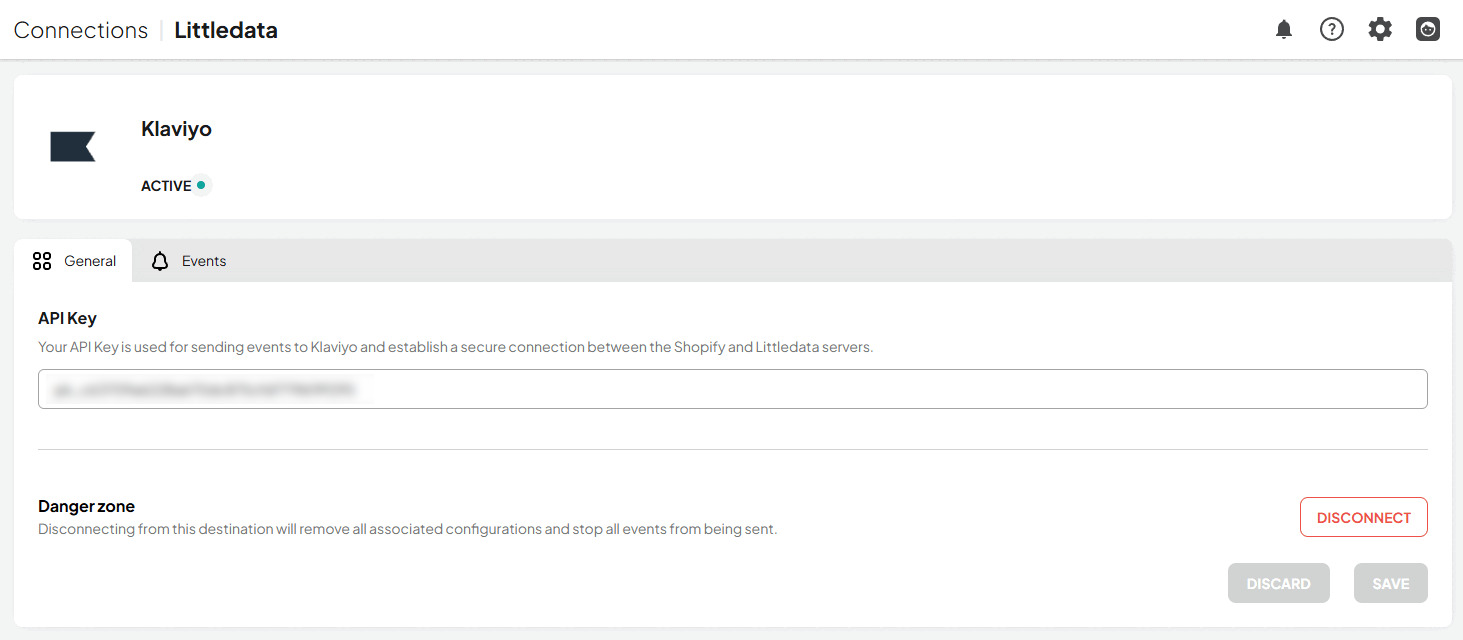
Navigate to your Klaviyo connection's settings
You will need to disconnect the connection. In the General tab, you will find the Danger zone; click DISCONNECT.
This will stop all the data sent to Klaviyo until you reconnect the connection.
Start the Klaviyo setup process
From the dashboard, click the Klaviyo connection, and the setup process will start.
Connect your Klaviyo account with Littledata and finish the connection.

Log in to your Klaviyo account
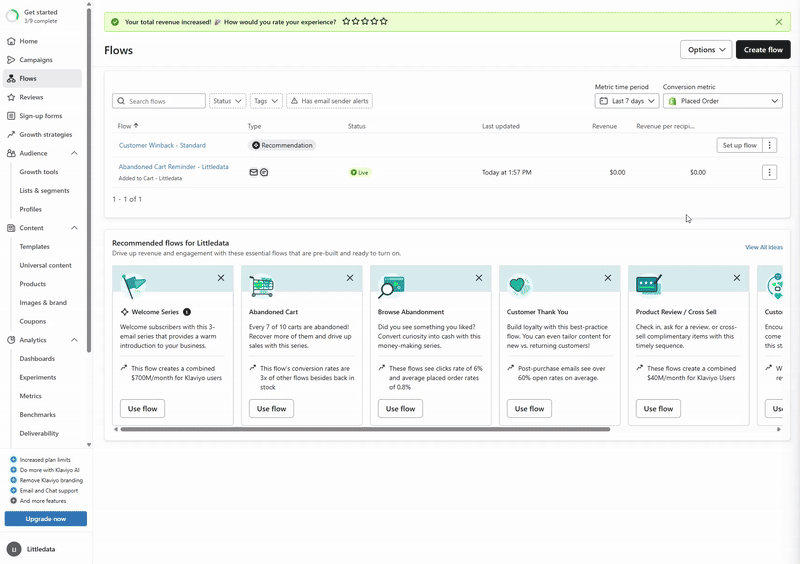
Access your Klaivyo account and go to the Flows section.
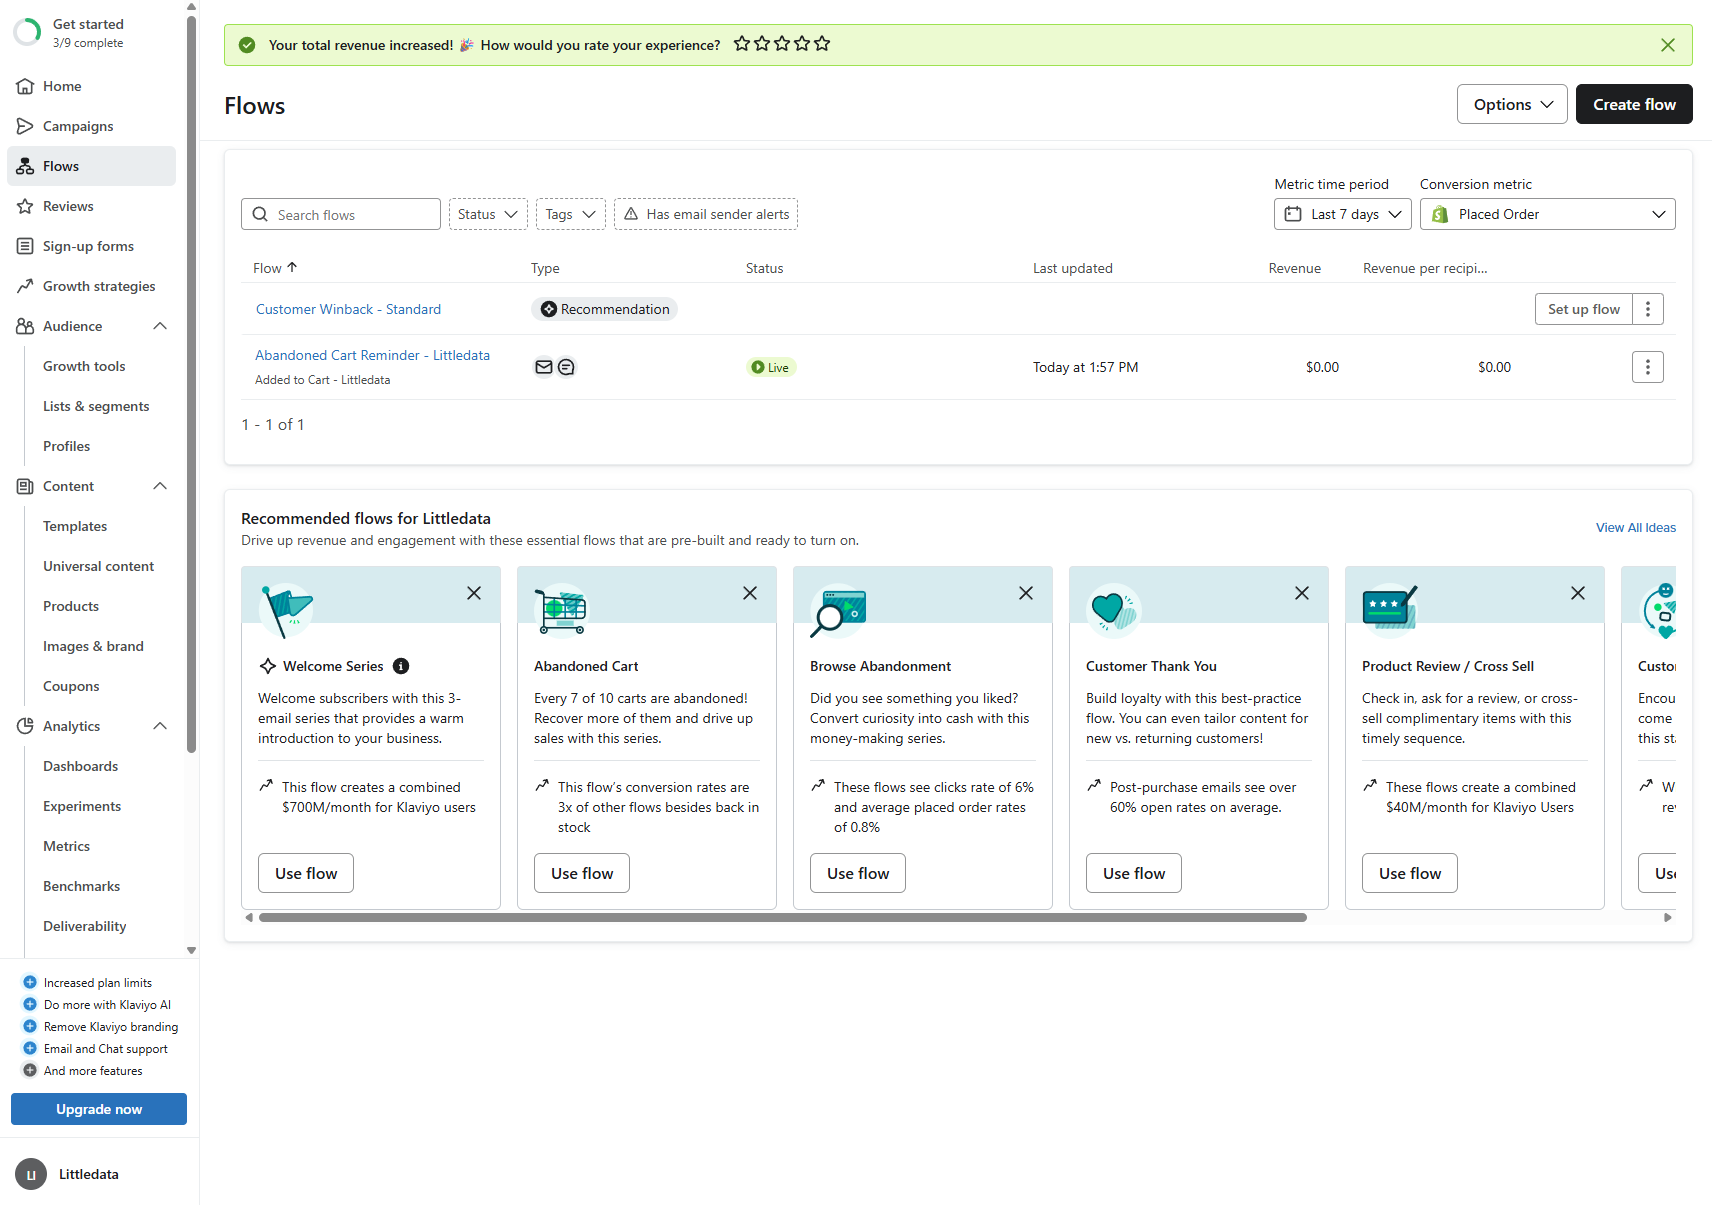
Clone the flows using Littledata triggers
You will need to clone the existing flows and select the correct trigger.
-
Start the flow cloning process
-
When prompted to select a trigger, choose the corresponding one associated with the Littledata integration (it appears with the Littledata logo).
-
Clone the flow
Repeat this process for all flows using Littledata triggers.
Review and turn on the newly created flow
After you've cloned all the flows using Littledata triggers, you can disable the previous ones and turn on the newly created flows using the correct triggers.
That's all!