Shopify to Google Ads installation guide

Updated on 2024-12-10

In this quick setup guide, we'll show you how to install Littledata's Google Ads connection. If you already use Littledata for Google Analytics, then Google Ads is available at no additional cost.

Quick install guide

Step 1. Install Littledata's Shopify app

Step 2. Choose the Google connection bundle

Choose between Flex and Tiered plans, explore our pricing documentation to determine the optimal plan for your business requirements.

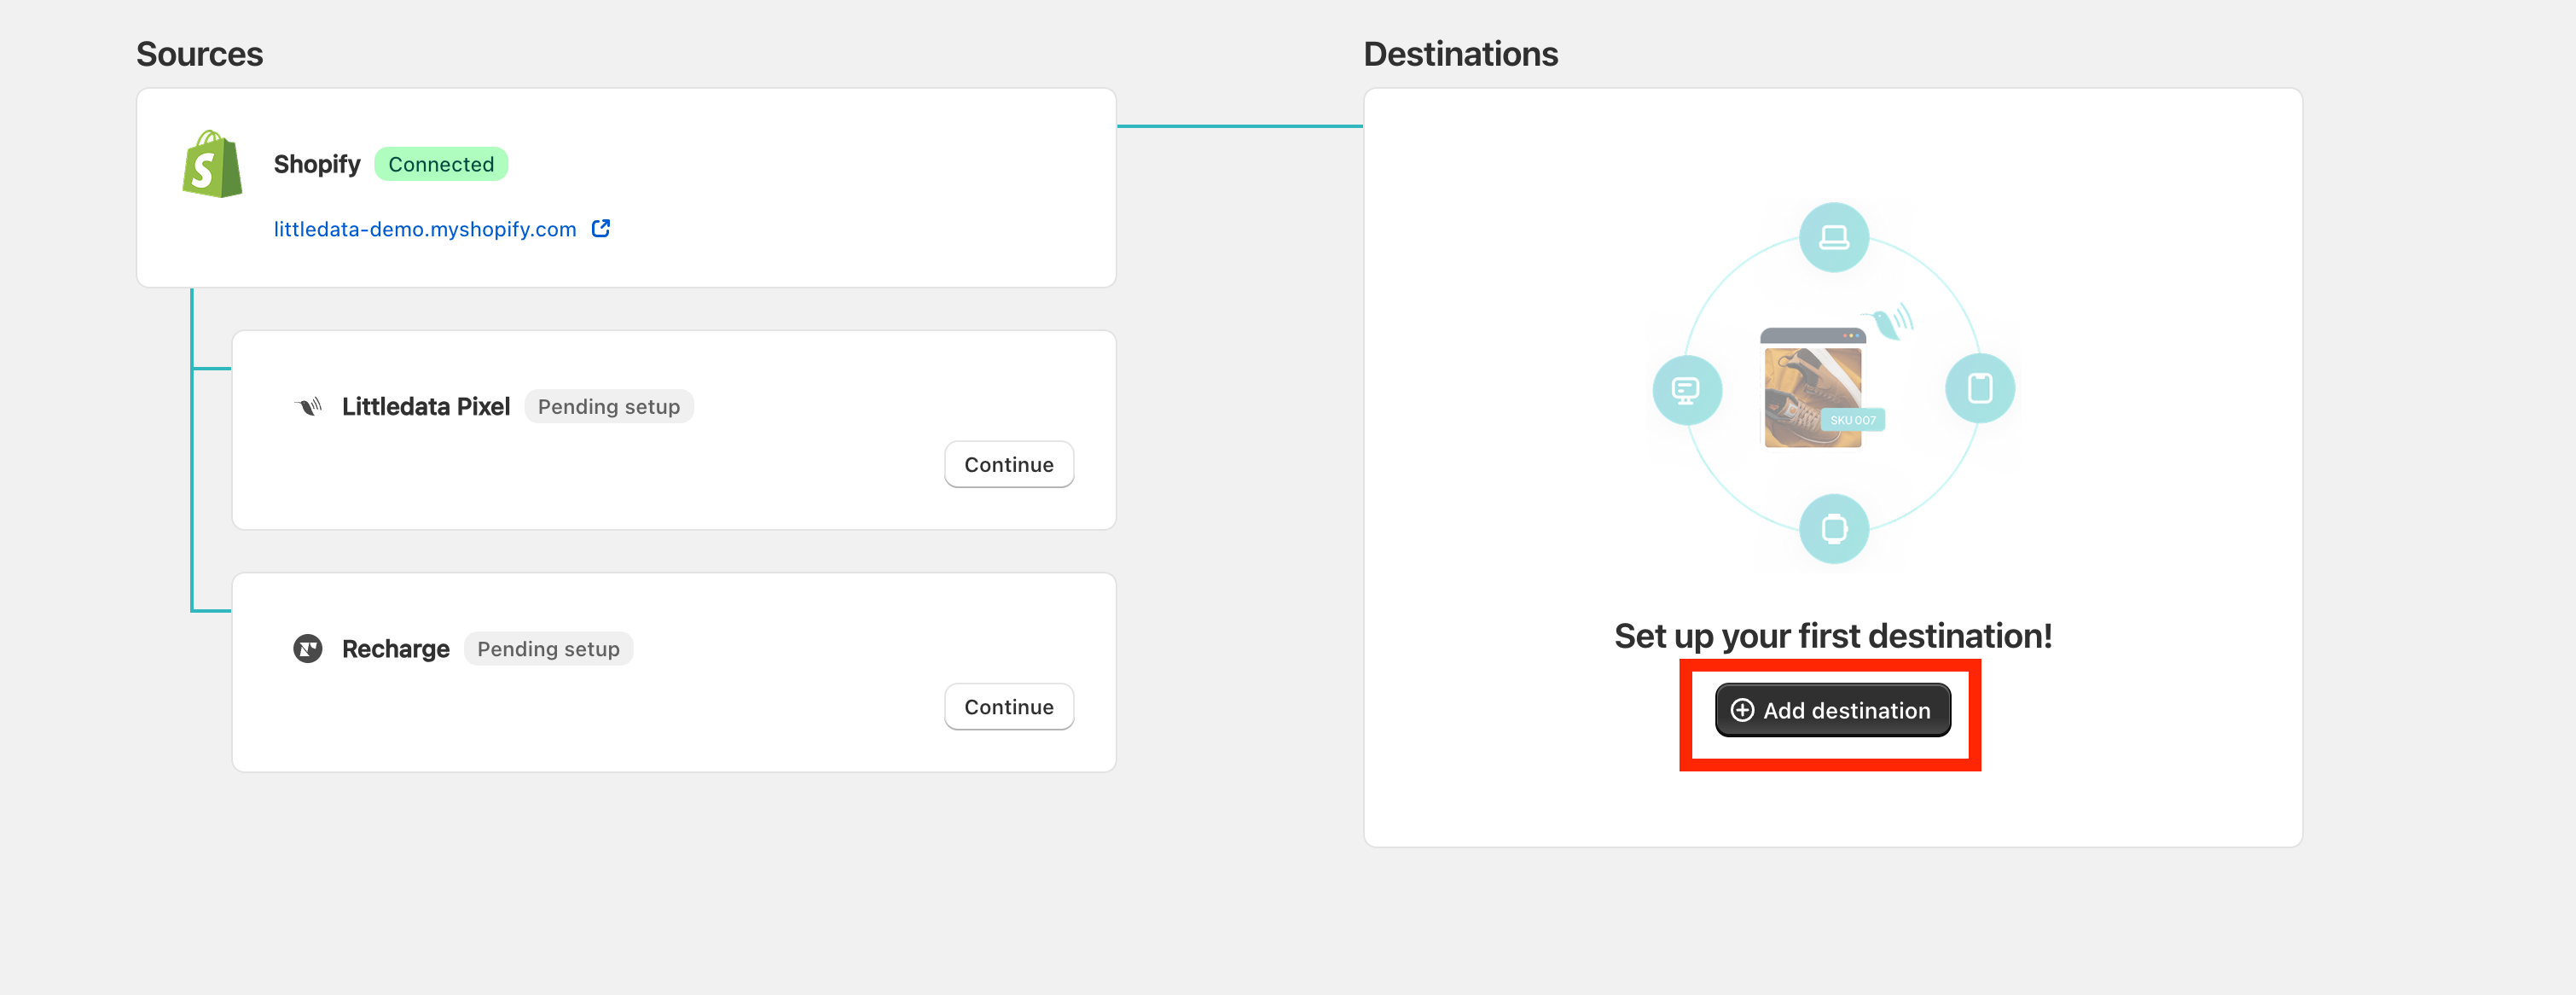
Step 3. Find Google Ads connection in the Littledata dashboard

The Google Ads connection will be visible in the dashboard if you have the Google bundle as part of your Littledata plan.

Once you are in the dashboard, click the Google Ads widget.

Littledata's dashboard

Step 4. Begin installation

In this step, you will find brief information about Littledata's connection with Google Ads.

Clicking CONNECT GOOGLE ADS will redirect you to the Google authentication page where you need to select and log in with your Google account.

Overview step of the Google Ads connection

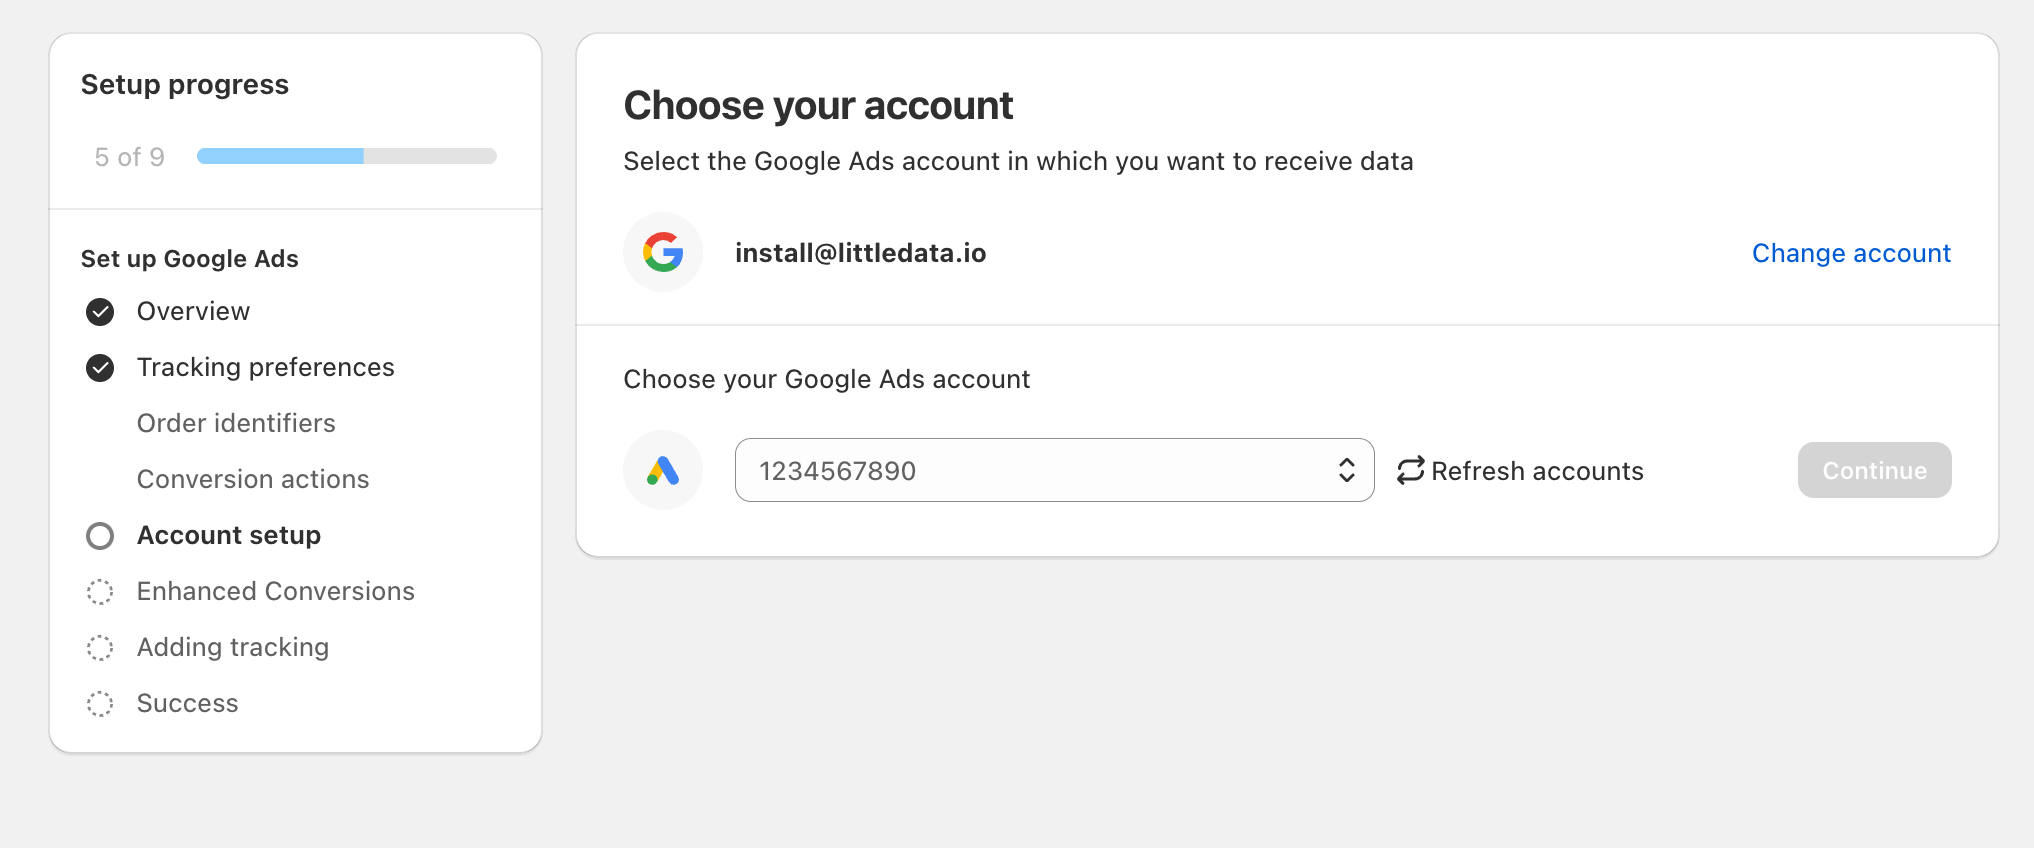
Step 5. Select your Ads account

If you have multiple Ads accounts linked to the Google account you've logged in to previously, you will need to choose one of them to connect to Littledata.

Choose Ads account step

Step 6. Customize your tracking

We provide three server-side events with our Google Ads connections. We recommend enabling all three of them for a more enhanced tracking.

Customize your tracking

Step 7. Google Ads setup

Littledata will automatically create a primary conversion action in the Google Ads account you've previously logged in to during the Google authentication step.

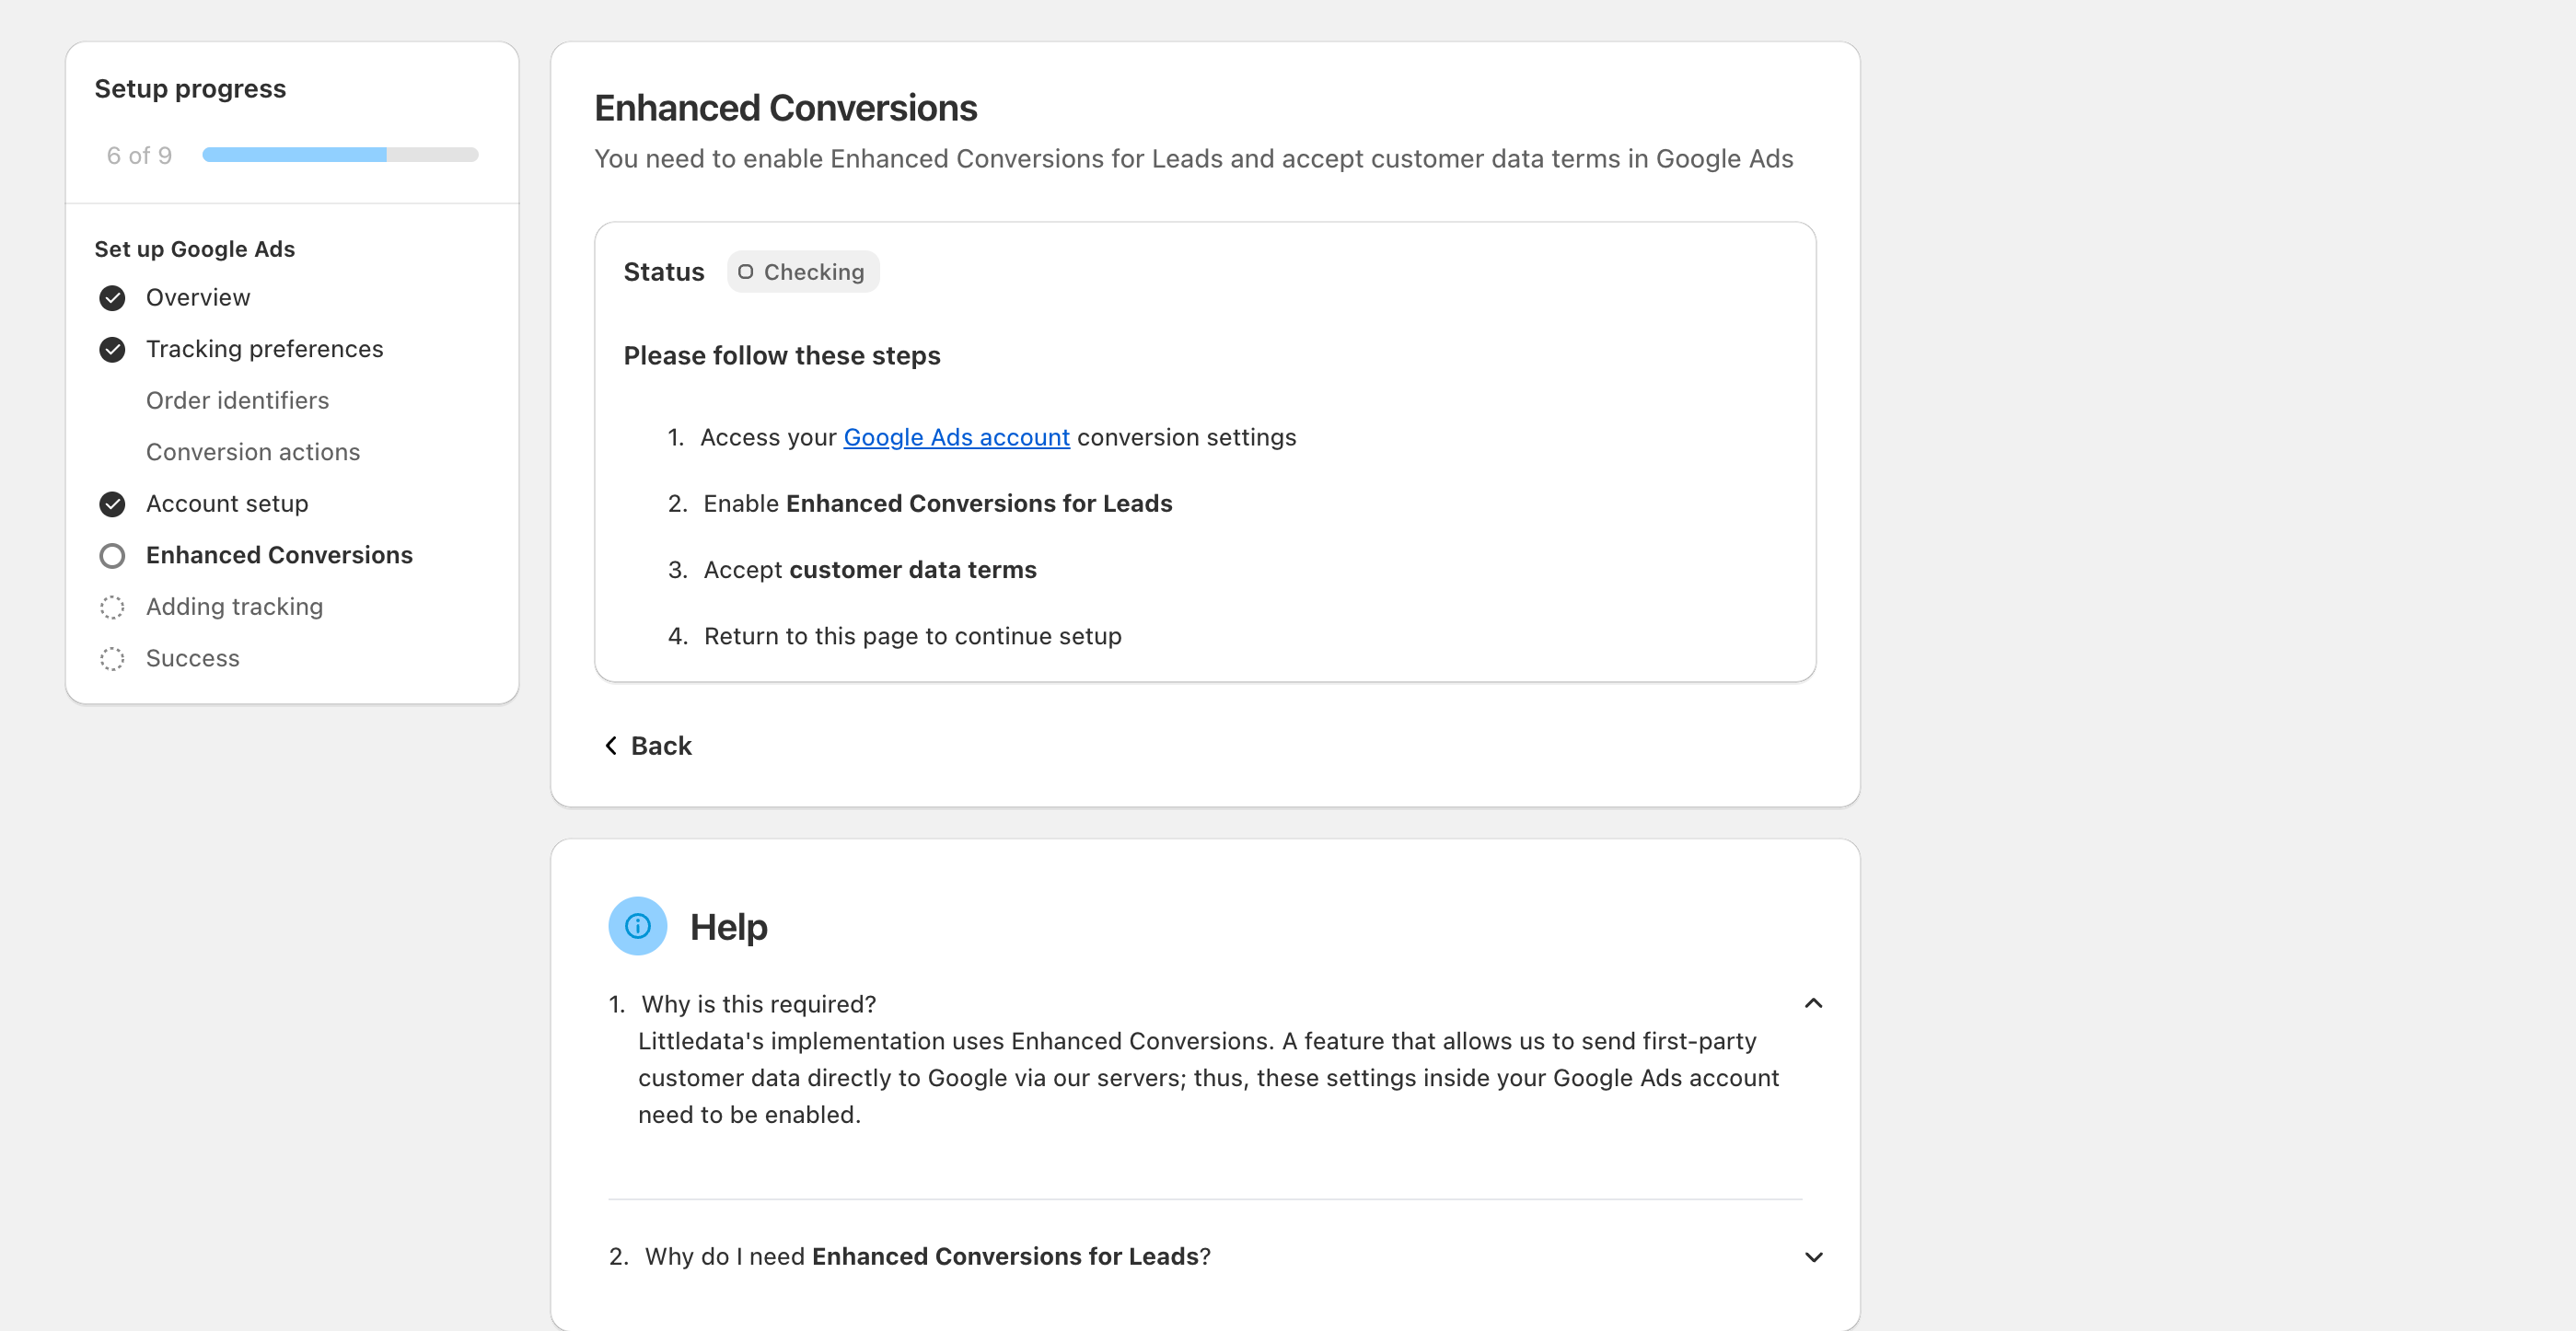
Littledata's implementation uses Enhanced Conversions, a feature that allows us to send first-party customer data directly to Google via our servers, thus 2 settings inside your Google Ads account need to be enabled.

By clicking the buttons inside each yellow module, you will be redirected to your Google Ads account to enable the settings. After you return to the setup page, an automated check will run to verify if you've correctly enabled the settings.

Find more information about the above-mentioned settings in this help article.

Google Ads setup step

note:

Customer data terms may be already reviewed and accepted if you're already using Google Ads to track conversions.

Step 8. Finish the connection

If our automated check confirms that the settings have been enabled correctly, the setup will automatically proceed to the last and final step where the webhooks and script are added to your Shopify store.

Adding tracking step

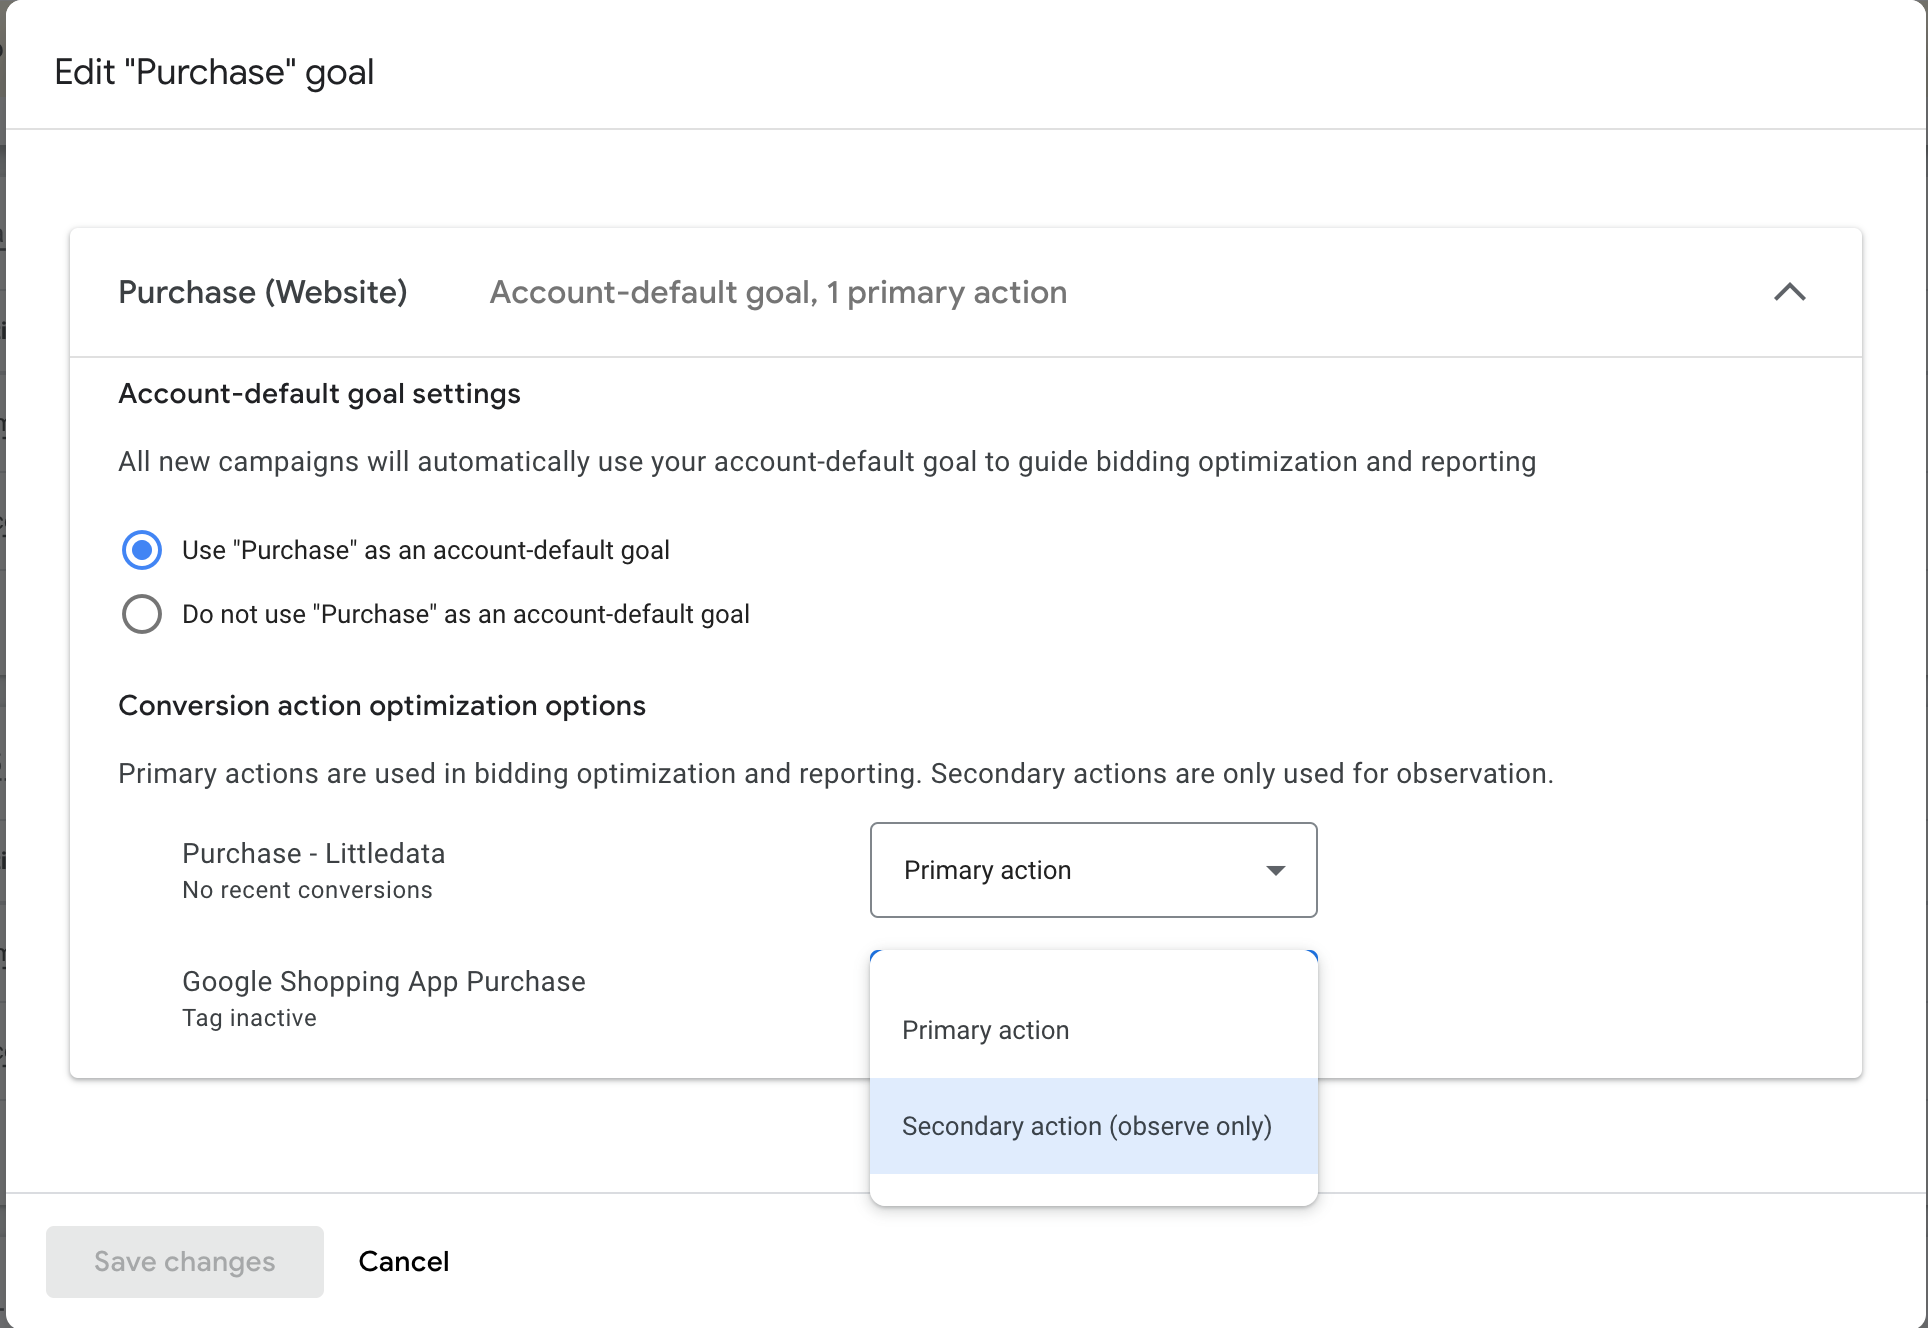
Use Purchase - Littledata as a Primary conversion action

Now that you completed the Connection, you will see Purchase - Littledata as a Primary action in your Google Ads account. As a final step, switch your other conversion actions to Secondary.

A Secondary action is used for observation, while a Primary action is used for bidding and optimisation.

Go to your Conversion tab in Google Ads, click on Edit Goal at the top right of the Purchase tab and switch your other conversions to Secondary action (observe only), then click Save Changes.

switch conversions to secondary

Upgrade guide

If you're already using our client-side Google Ads connection, you can upgrade to server-side Enhanced Conversions for free.

When logging in to your Littledata account, you will be prompted to upgrade to the new Google Ads connection. You can follow the exact steps mentioned above to move to the new implementation.

Upgrade banner