Shopify to Meta Conversions API installation guide
In this guide, we'll explain how to connect your Shopify store to the Meta destination.
Our Meta CAPI connection is not compatible with server-side Google Tag Manager. We advise disabling sGTM to have optimal tracking.
Quick install guide
From the Littledata dashboard, click the Add destination button.
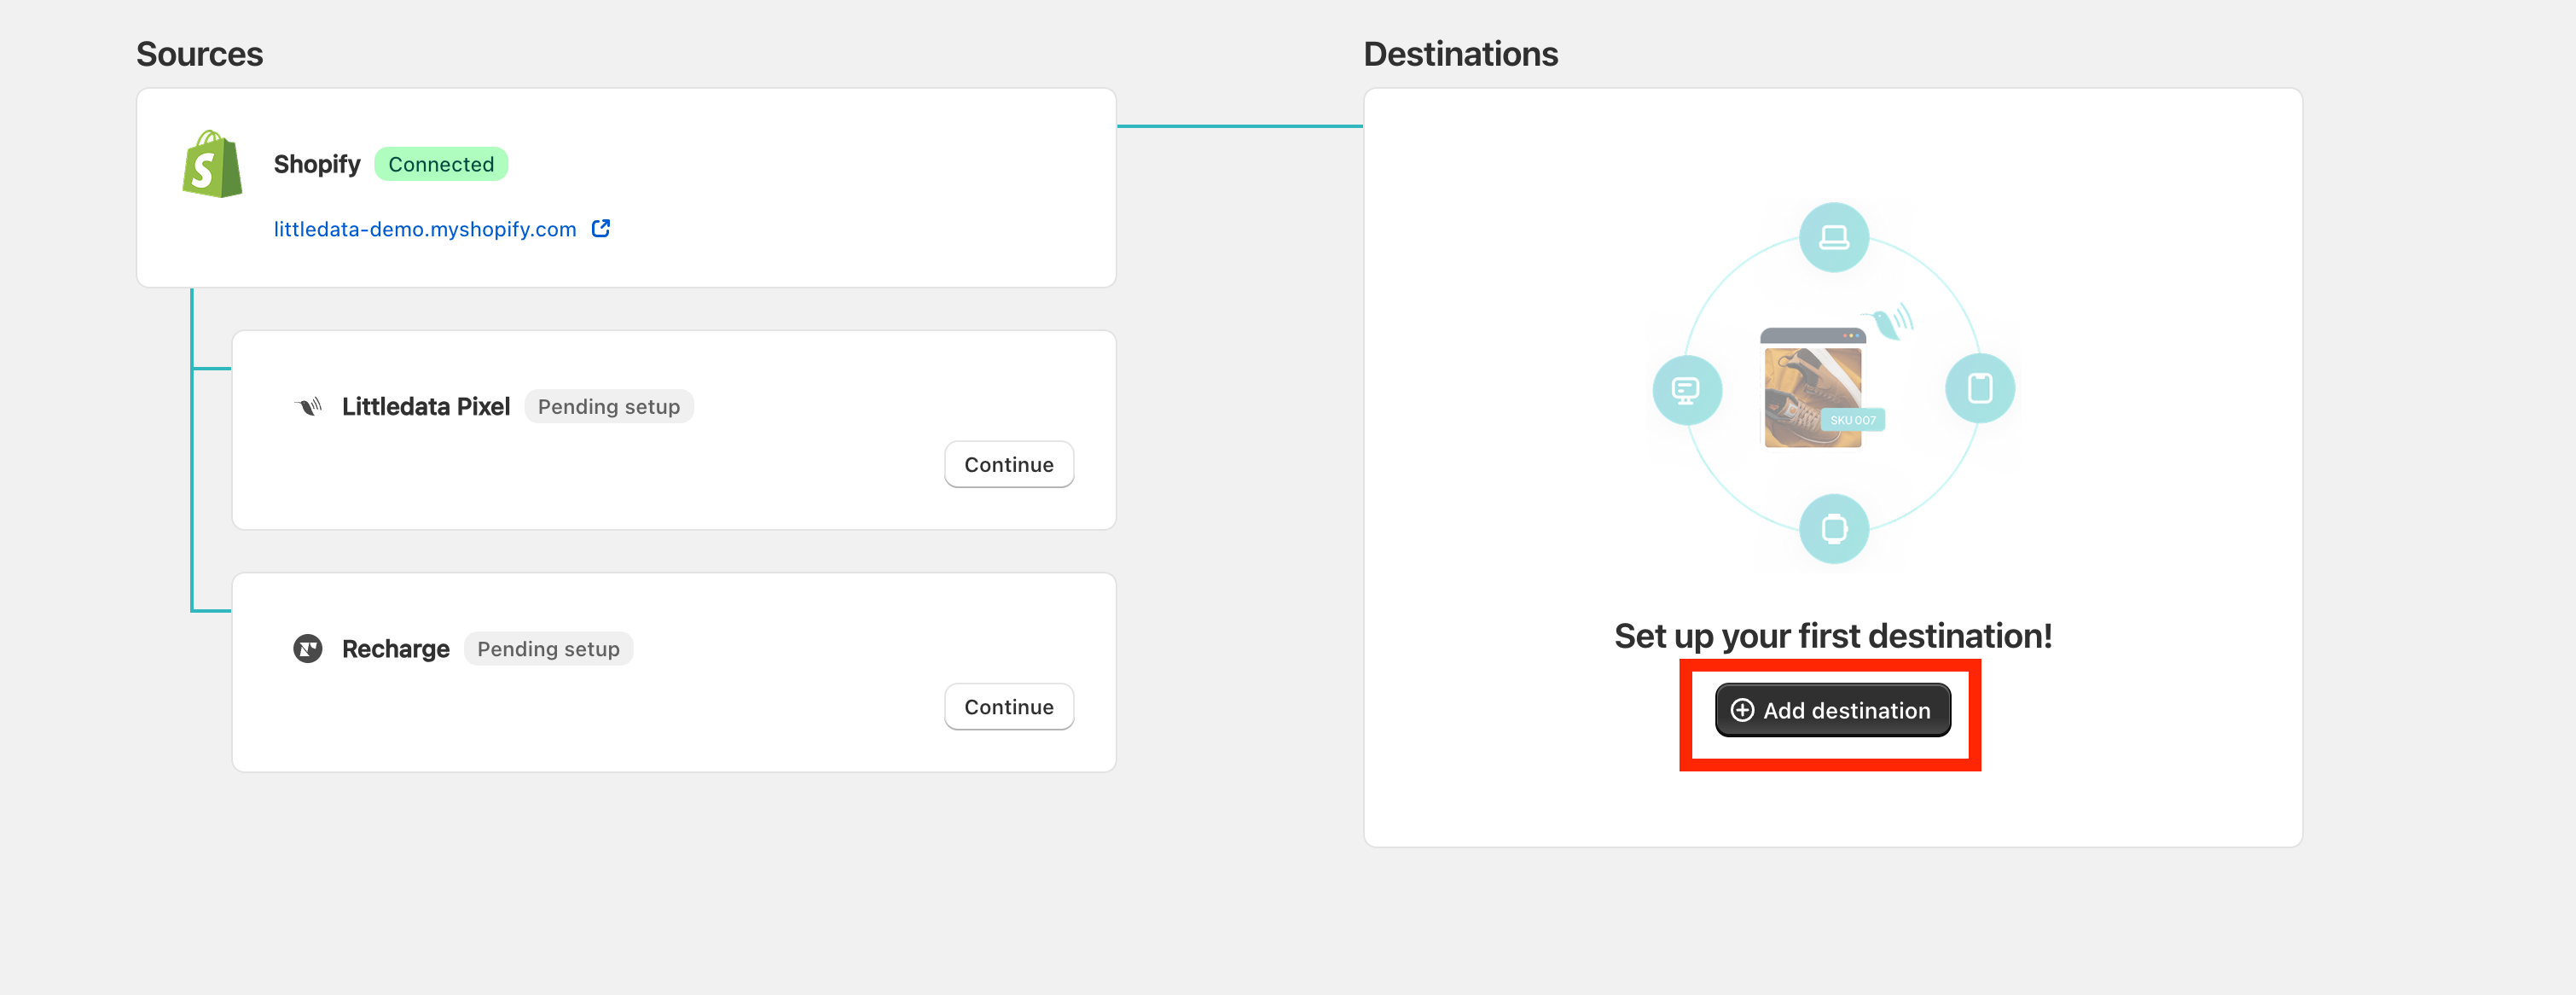
Look for the Meta destination and click Connect.

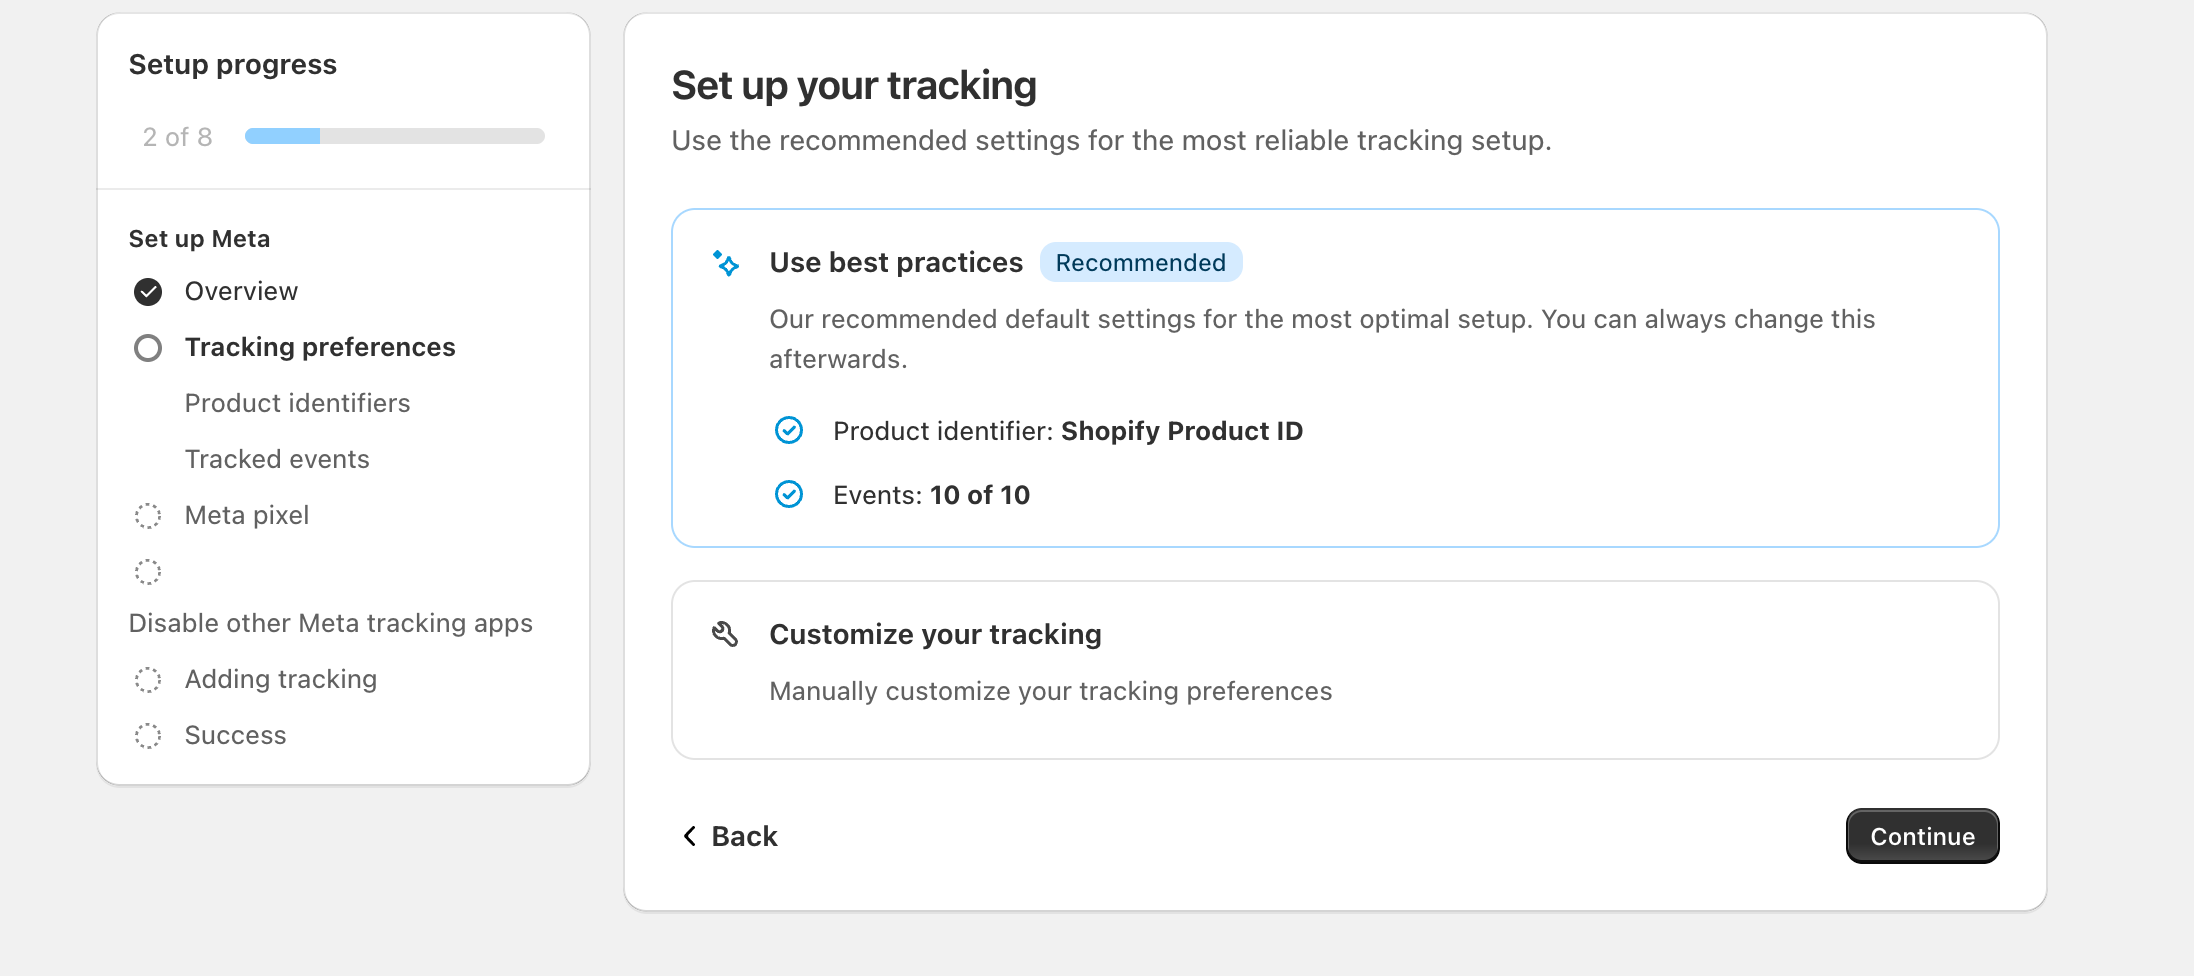
Next, select your tracking preferences and click continue. The recommended settings are already pre-selected.
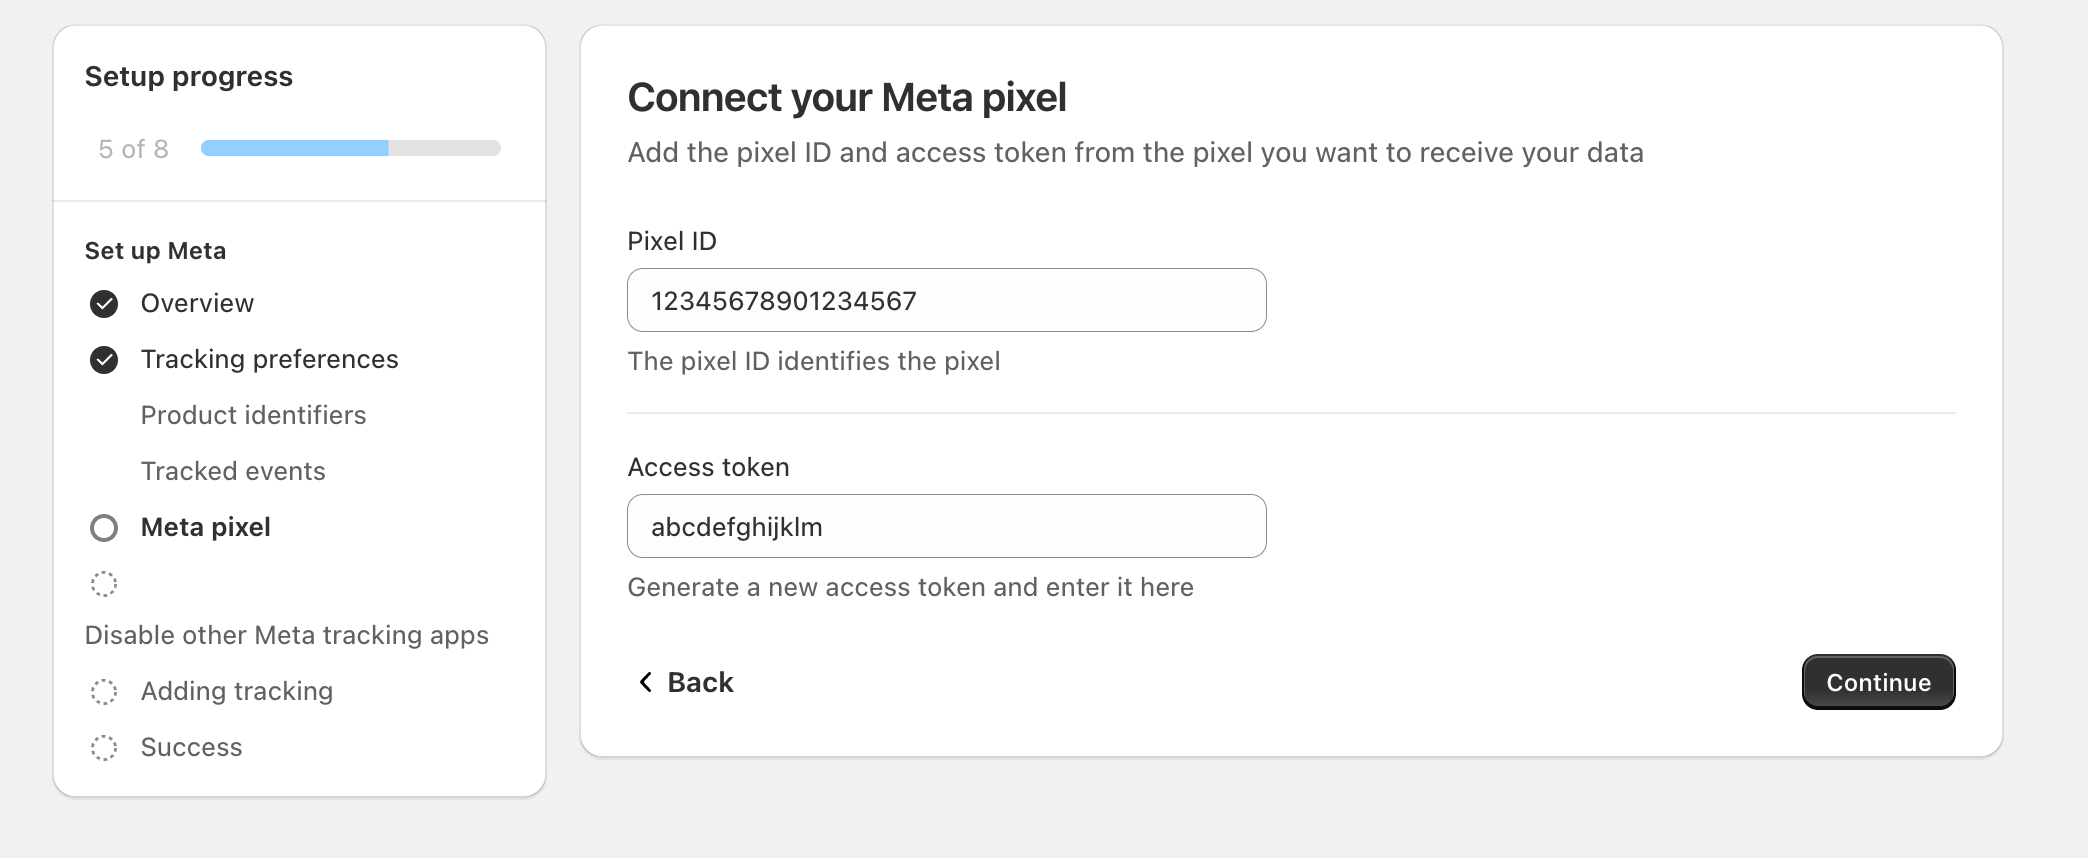
Next, enter your Pixel ID and Access Token. Refer to the section below for instructions on generating a new access token.
Generating a Meta access token
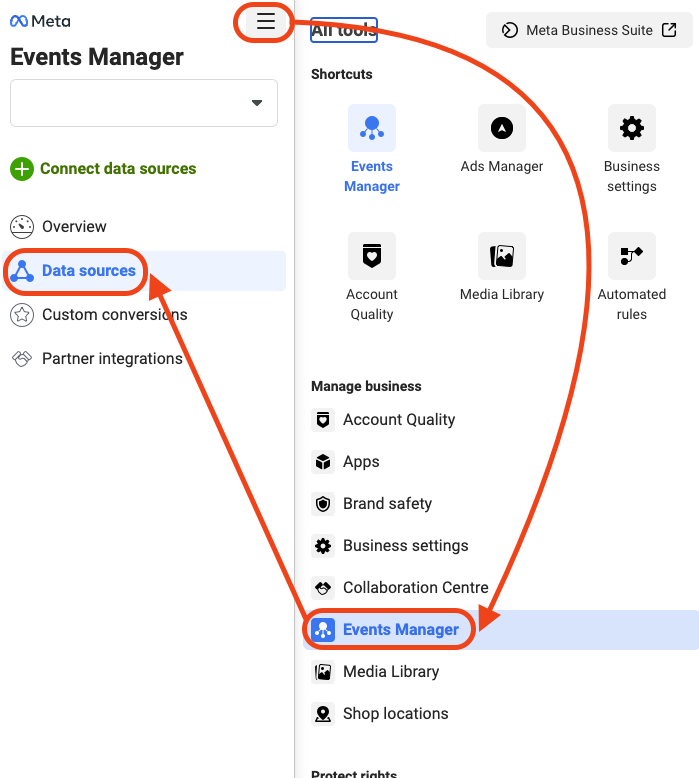
In your Facebook Business Manager, go to Events Manager > Data sources.
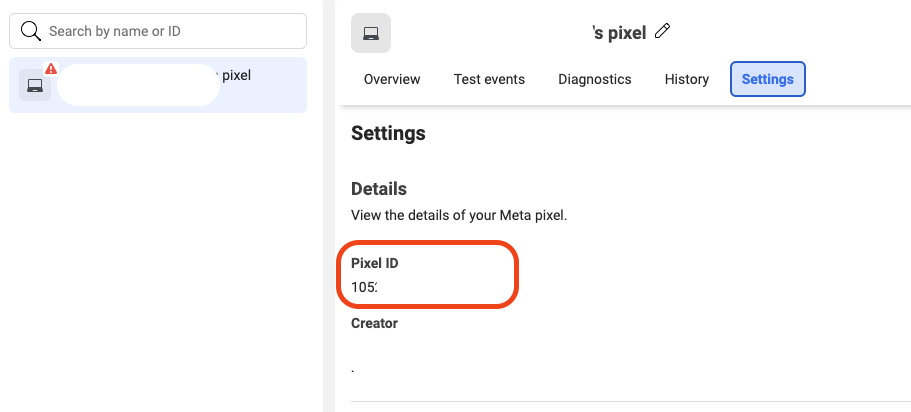
Select the pixel, and under the Settings tab**,** you will find the pixel ID.
In the same Settings tab, down the page, you will find the Conversion API section. In that section, you can generate a new access token.

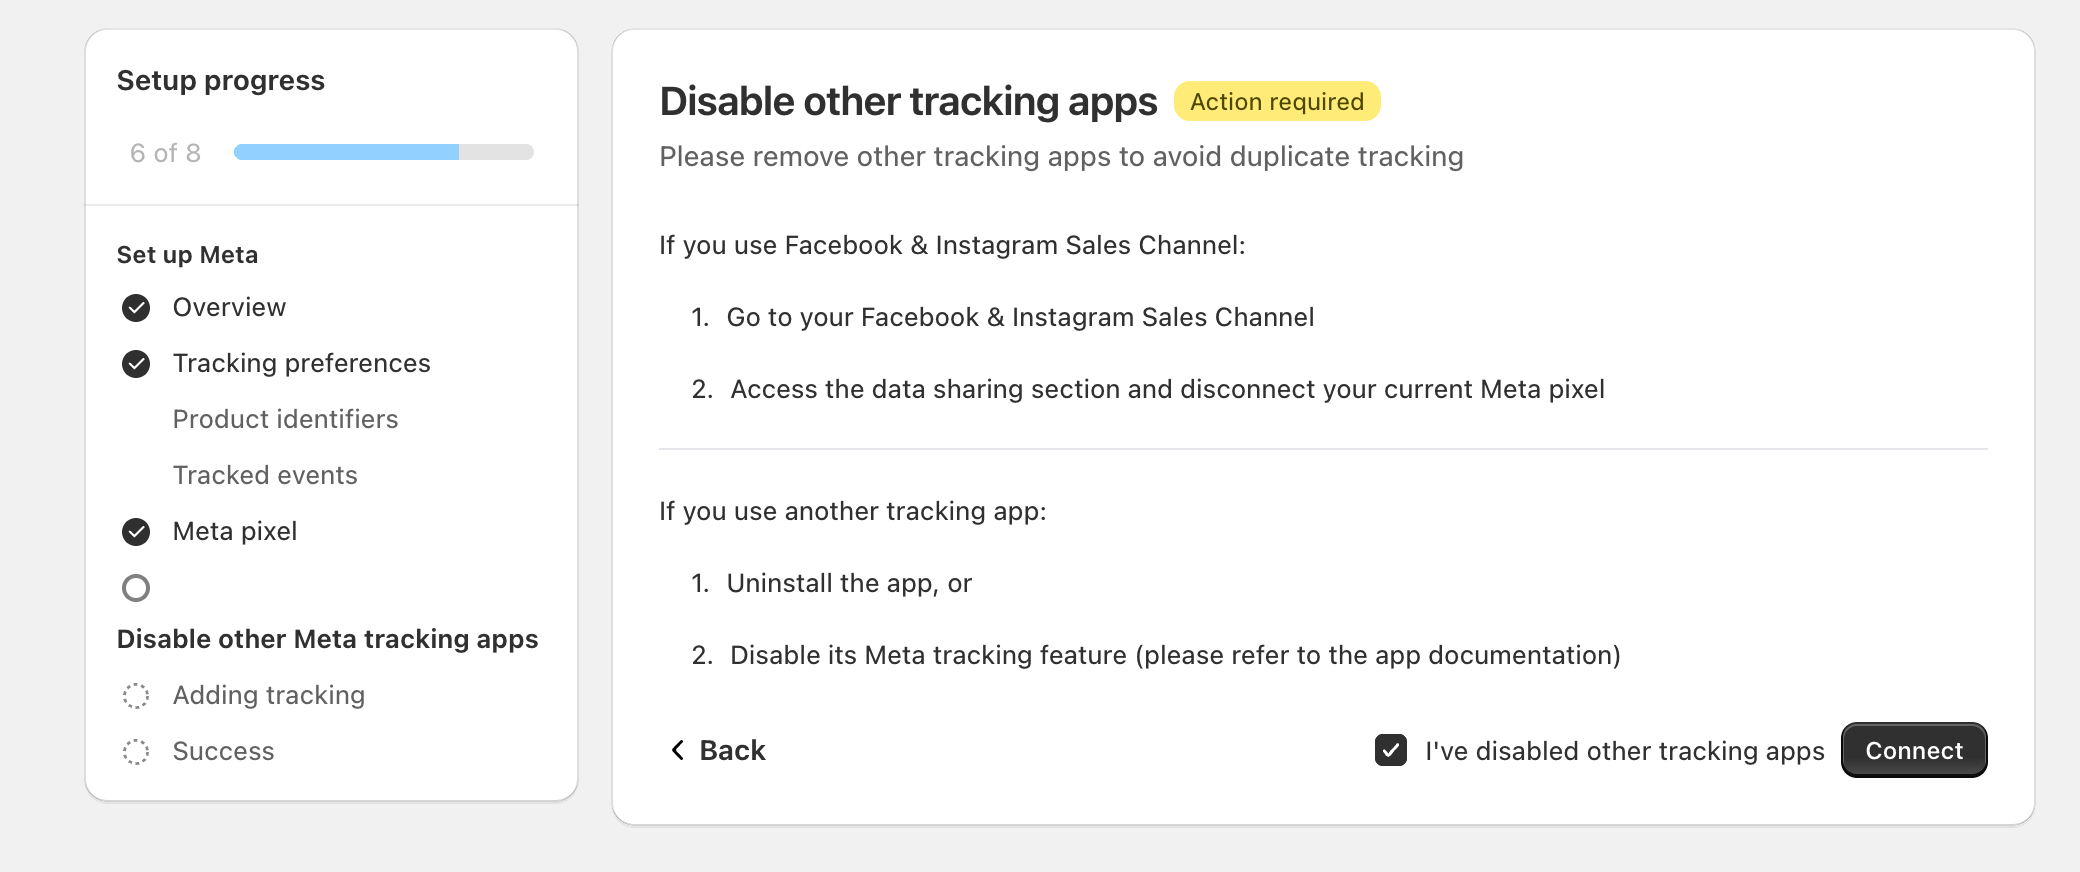
Lastly, disable other tracking apps to avoid duplicate tracking, such as the Facebook & Instagram Sales Channel integration. *
Once this is completed, tick I've disabled other tracking apps and click Connect.
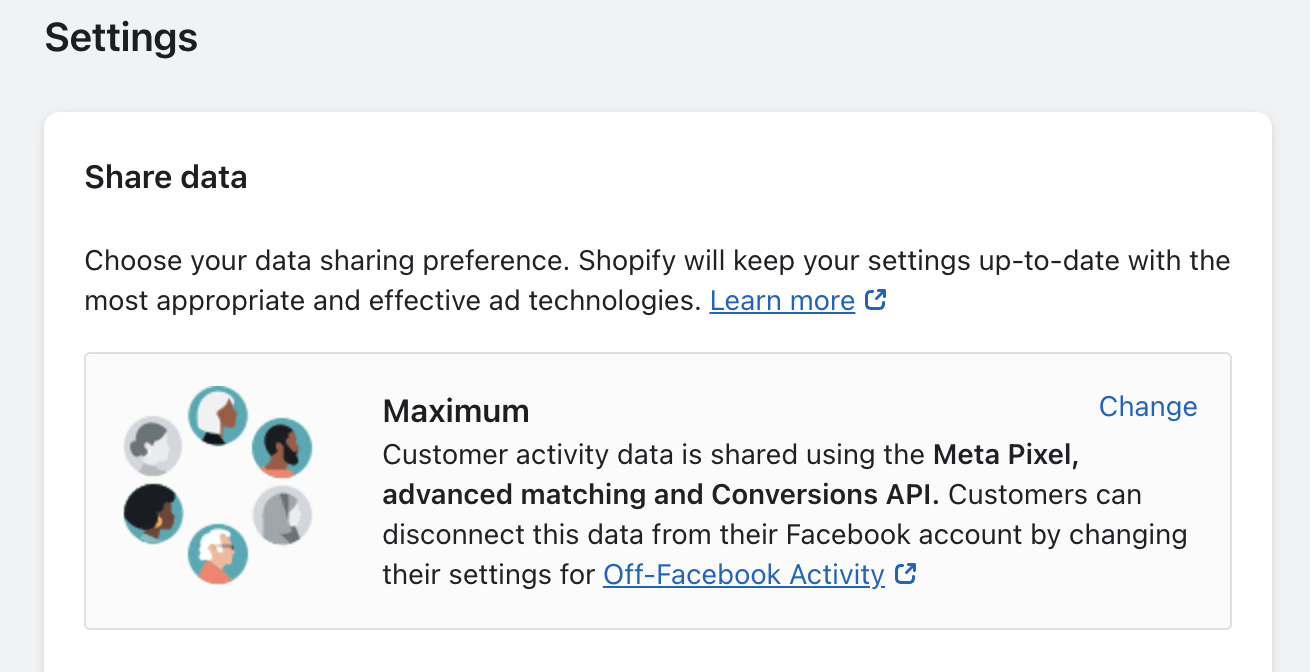
*How to disable the Facebook & Instagram Sales Channel data sharing:
-
Open The Facebook & Instagram Sales Channel.
-
Go to Settings.
-
If your data sharing is set to Maximum, click Change, disable data sharing and Save. This will ensure that the native integration will stop sending data to your Meta pixel.
