Migrating to Shopify’s extensible thank you and order status pages
If you’re a Shopify Plus customer migrating to Checkout Extensibility, see this article about we track the new checkout without any changes.
In your store settings, Shopify gives you the option to publish a new thank you and order status page, which is extensible in a similar way to the new checkout.
Publishing the new pages brings advantages in branding and integrations, but it has a major impact on tracking you should be aware of.
Unlike the migration to checkout extensibility there’s no urgency to migrate the thank you page – the old page will be officially supported until August 2025.
Shopify has a guide on upgrading the thank you page but here follows a more visual guide to making the switch.
Getting started
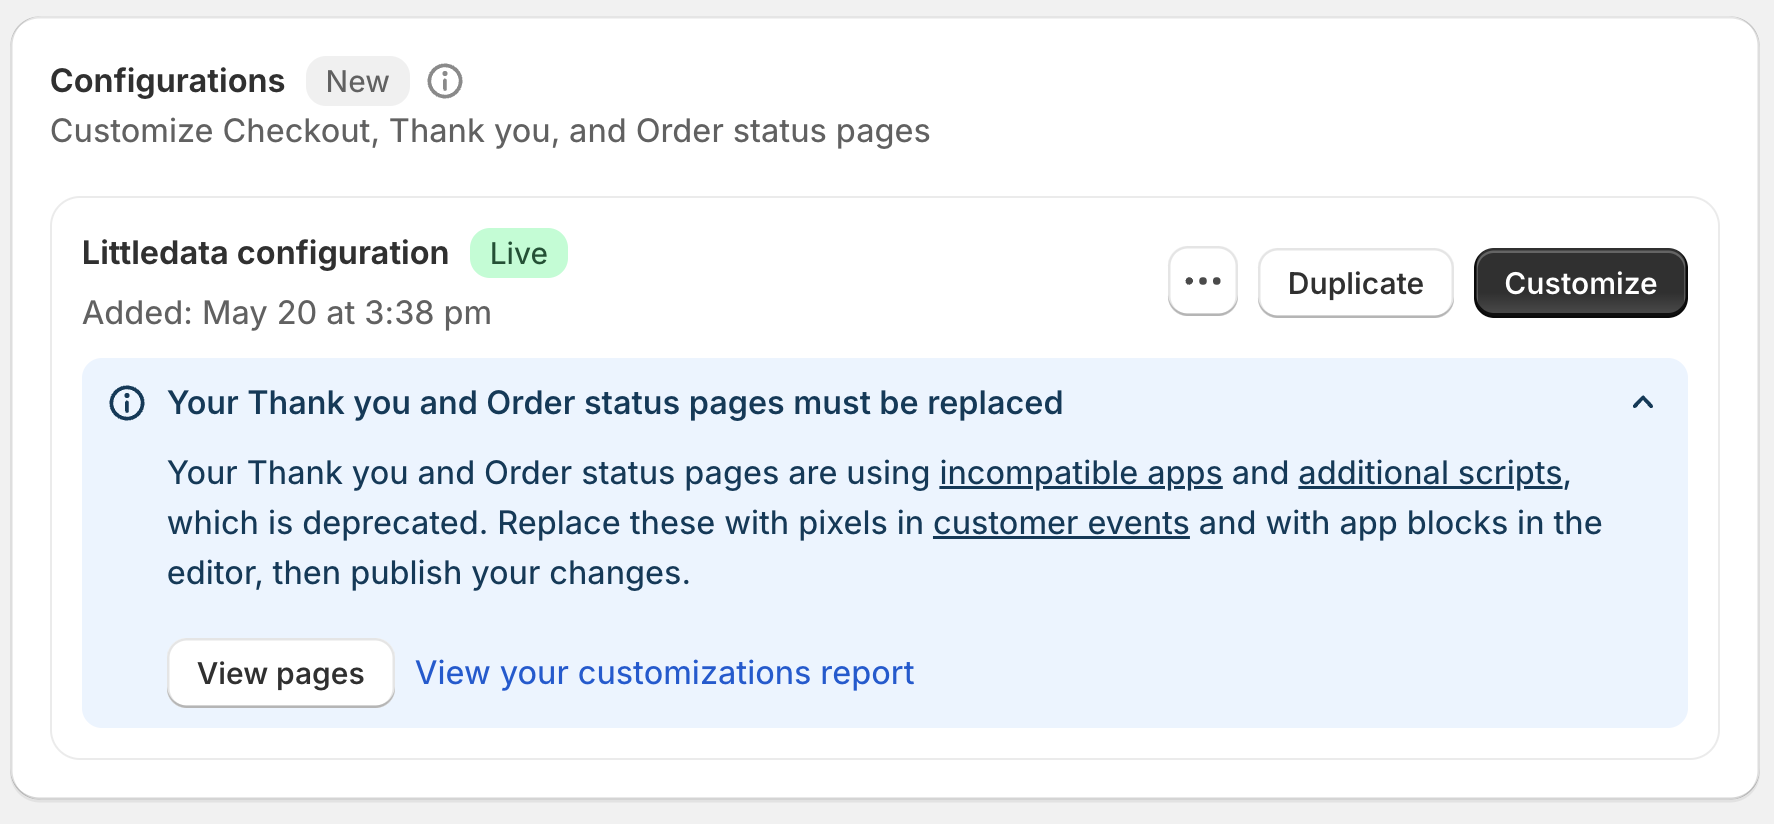
First go to the Checkout settings and you’ll see a blue recommendation that the pages ‘must be replaced’.
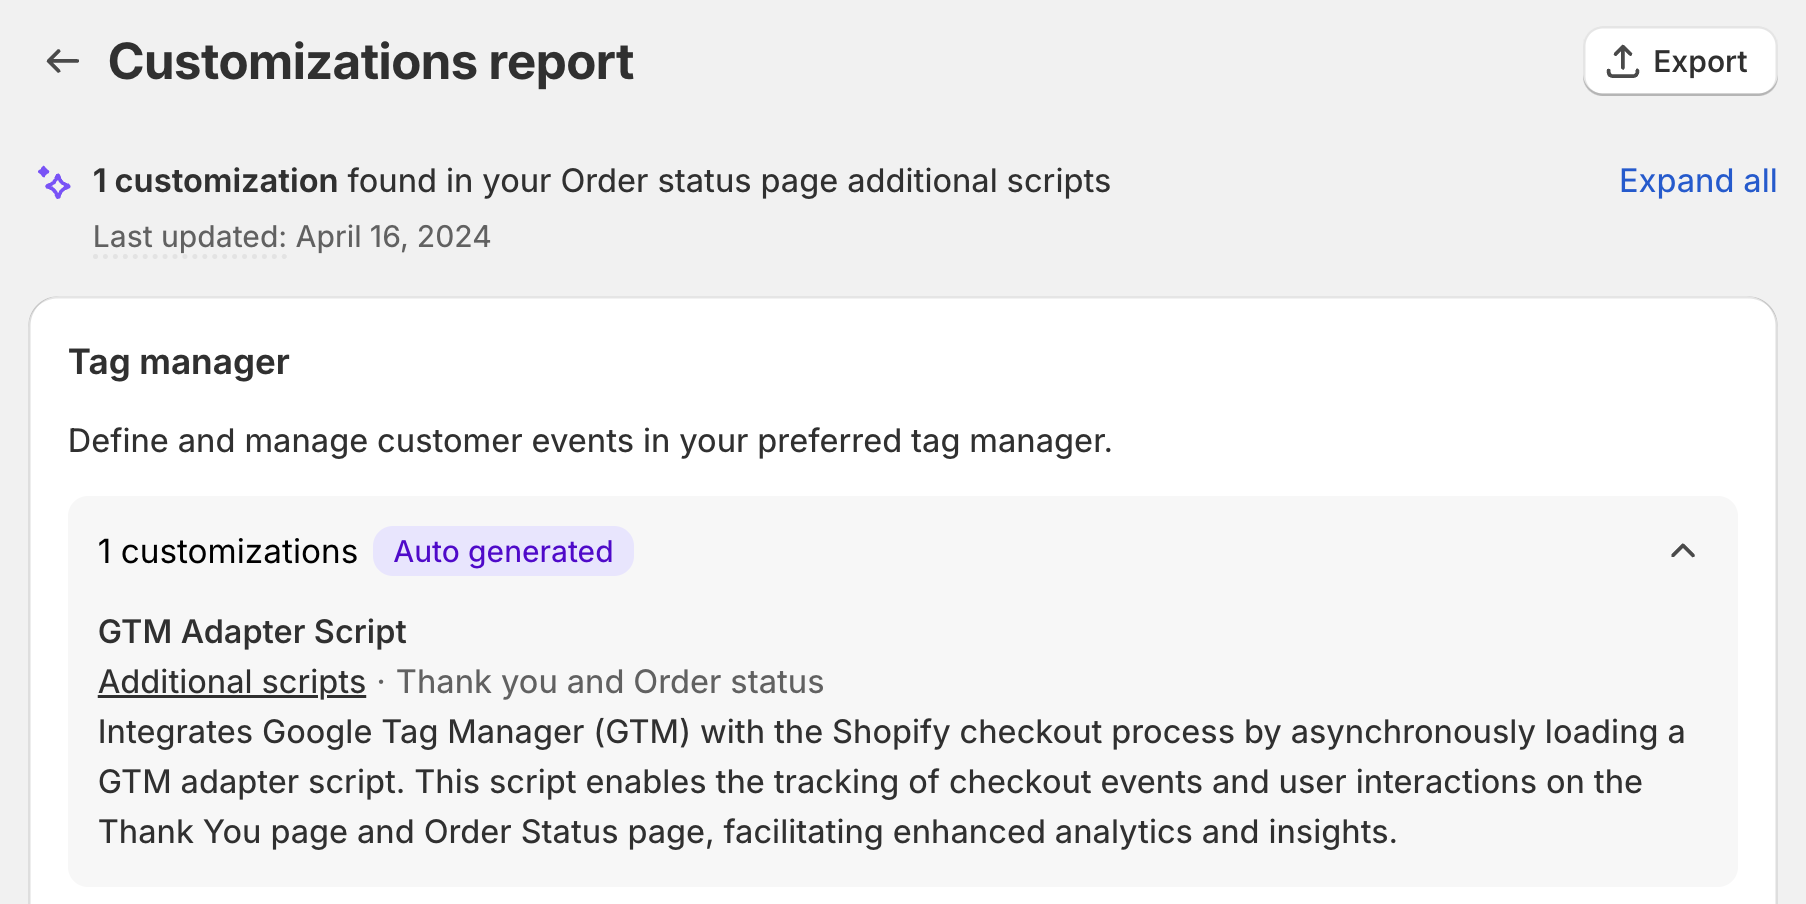
Expand the notification to see the link to View your customizations report. You need to check the recommendations before clicking to View Pages.

How tracking works on the legacy thank you page
The thank you page is critical for tracking conversions (expect for server-side conversions tracked through Littledata).
Most stores have two types of tracking on the thank you page:
- Additional Scripts – which may include a Google Tag Manager container
- Script Tags - from installed apps
Before you migrate you’ll need to check both these two types of tracking.
If your tracking has broken we recommend switching back to the old thank you page - see guide below.
Checking the Additional Scripts field
Shopify makes this easier by creating a Customizations Report which looks for common code in the Additional Scripts field. For example, if you have Google Tag Manager set up on this page there is a guide to creating a GTM custom pixel.

The most common way to migrate tracking from Additional Scripts is to use a custom web pixel (also called Customer Events in the Shopify settings). This setup will require knowledge of JavaScript, but Littledata has some setup guides for common tags you may need.
Checking for ‘incompatible apps’
This part is much harder, as Shopify has told app developers that they have until August 2025 to support the new thank you page – and there’s no way to tell which apps already support the new page.
You will need to check the documentation of each app.
How to migrate to the new thank you page
Shopify let’s you publish the new pages even if you haven’t migrated the tracking. If you’re seeing a drop in tracking please read how to revert below
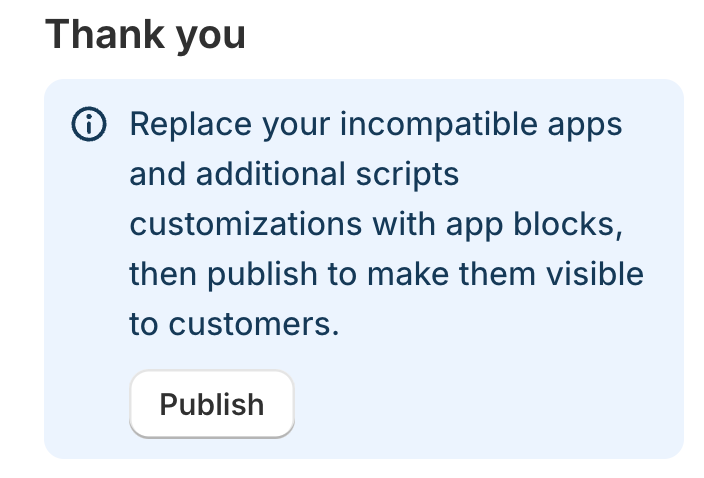
When you are ready to upgrade, in the page editor you’ll see a notification to Publish the new pages.

And then another warning that publishing will ‘replace your current incompatible apps and additional scripts customizations’.

Now you’re done migrating to the new pages, but there’s one last step.
Setting up a custom domain
The new order status page by default is hosted on Shopify.com. This will present a cross-domain tracking issue, so you’ll want to add a subdomain (e.g. myaccount.mydomain.com) to redirect to shopify.com to make tracking customers easier.

You need to talk to whoever manages your DNS records to set up a CNAME record pointing to shops.myshopify.com. Then go to Settings > Domains to register it with Shopify.
How to revert to the old thank you page
This setting is well hidden! You need to scroll right down to the bottom of the checkout setting page, just before the Save button to the section on Order status page additional scripts. Then click the link to revert to the old page.
